Photography Tutorial · 2024-04-14
How Do Western Landscape Photographers Grade Colors? Post-Processing Atmosphere Rendering Turns Out to Be This Useful!
In today's photography post-processing tutorial, Thomas will share the post-processing process of a Western magical-style landscape photo.
The original photo is of wildflowers on the glacier we shot beneath the big wall of the Trango Towers in Pakistan after a week of trekking. The shooting used 12 frames of focus stacking + 1 frame of exposure blending — a very complex technique.
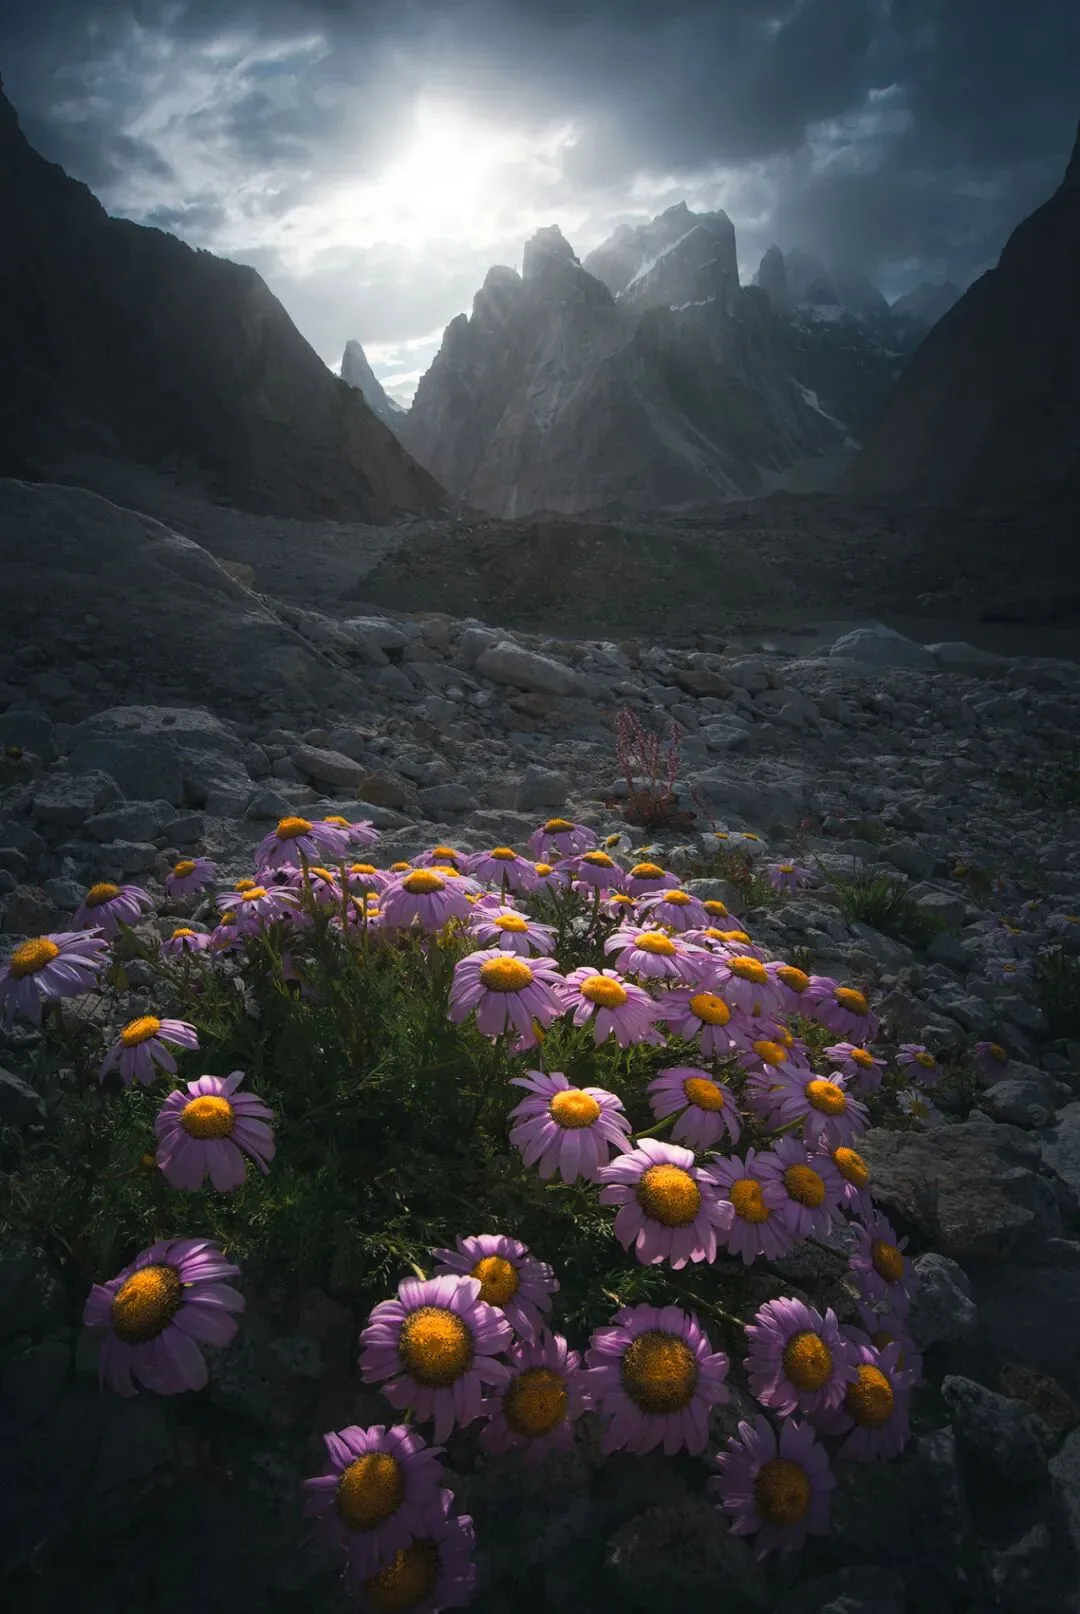
But the most core step in post is still shaping the photo's atmosphere: the majesty of the peaks and the vitality of the flowers need light-dark and warm-cool visual effects to be further presented.
The complete post-processing process can be seen in Lesson 38 of "Color Lessons for Photography Enthusiasts" (《给摄影爱好者的色彩课》) - Western Magical Warm-Cool Tones.
Video
▶ Watch the video tutorial on Bilibili
This is the fully illustrated companion to the video above, where Thomas breaks down his glacier-wildflower shot from beneath the great wall of the Trango Towers in Pakistan: from 12 focus-stacked frames plus a bracketed exposure, through low-angle perspective, distortion correction and flare repair, to the mask-based light blending and Tyndall-effect rendering Western photographers love — turning an "unusual but flat" raw frame into a magical final image where the peaks loom majestic and the flowers brim with life. Keyframe screenshots accompany the text: trace the workflow here, then watch the details in the video.
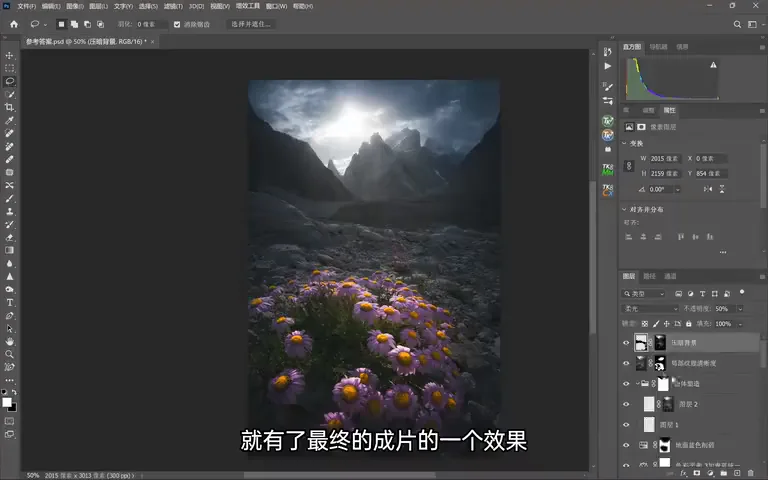
01 In the Field: A Week of Trekking for Glacier Flowers
The photo was taken beneath the great wall of the Trango Towers, a week's trek from civilization: a cluster of wildflowers blooming some twenty centimeters from the lens on glacier debris, with cloud-wrapped peaks behind — stunning at first sight (at 0:08-0:24 in the video). It is also technically brutal: flowers and mountains can never be sharp in a single frame.
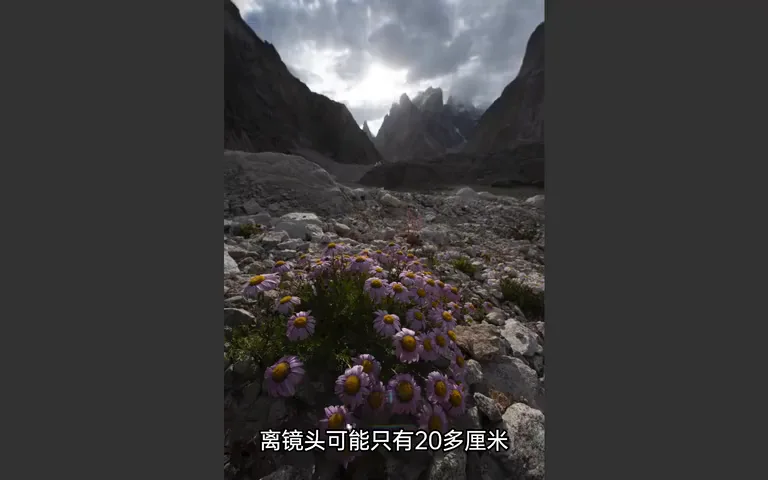
The fix is focus stacking: after focusing on the nearest flowers, keep turning the focus ring back so the focus distance creeps outward, shooting 12 frames in total — the early ones sharp on flowers and mushy on peaks, the last ones crisp on rock and blurred in front (at 0:57-1:11 in the video). Later, blend the set with Helicon Focus or Photoshop's stacking to get a fully sharp base file (at 3:47 in the video).
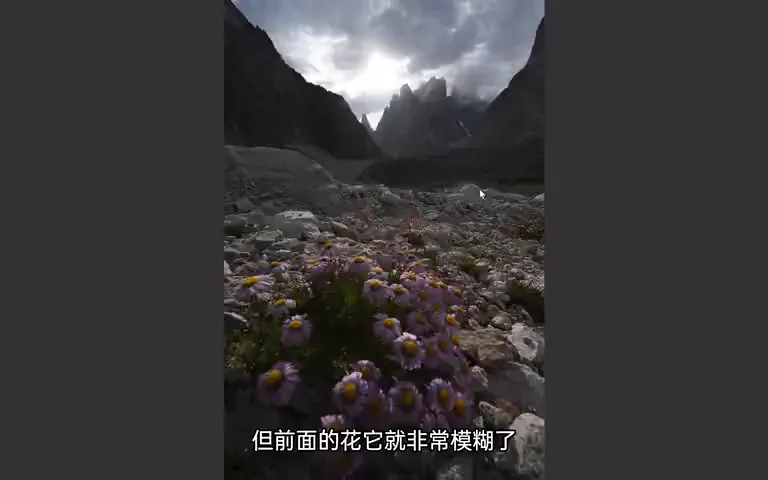
Exposure gets one bracketed bonus frame: underexposed by two to three stops to pull back extra cloud detail (at 1:14 in the video). You could underexpose further, but a touch of deliberate blowout actually strengthens the feeling of skylight — so a single bracketed frame is set aside just for the exposure blend later (at 1:28-1:36 in the video).
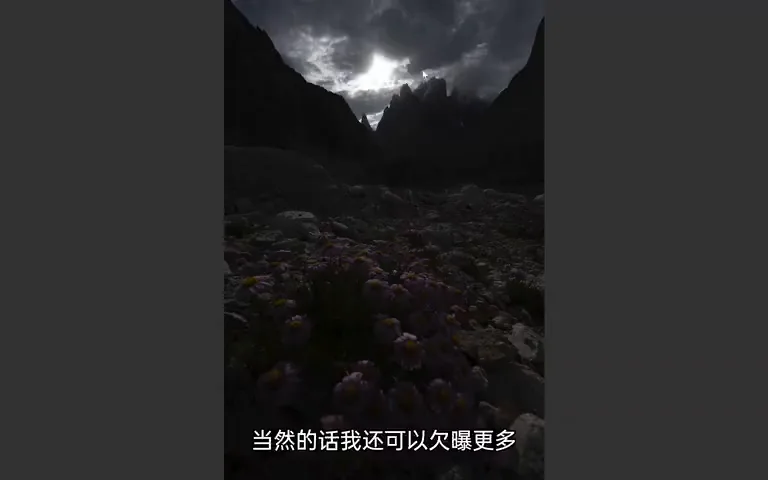
02 Angle and Perspective: The Power and Price of Shooting Low
With the camera level, the distant peaks barely distort, but the near flowers show almost no perspective — front and back blooms differ little in size, and the frame feels flat (at 2:05-2:28 in the video).
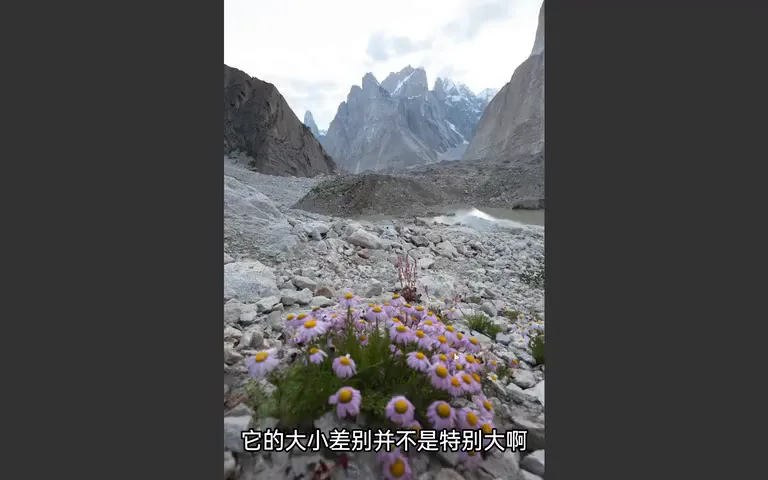
Thomas instead parks the camera right among the flowers and tilts down slightly: perspective instantly turns dramatic, the nearest blooms loom far larger than the far ones, and the foreground gains real punch (at 2:33-2:55 in the video). The price: the distant range shrinks and leans every which way, so it needs heavy distortion correction in post (at 1:52 in the video). He corrects carefully — watching any horizontal and vertical lines in the frame, and applying the warp in many small steps to keep headroom (at 4:13-4:24 in the video).
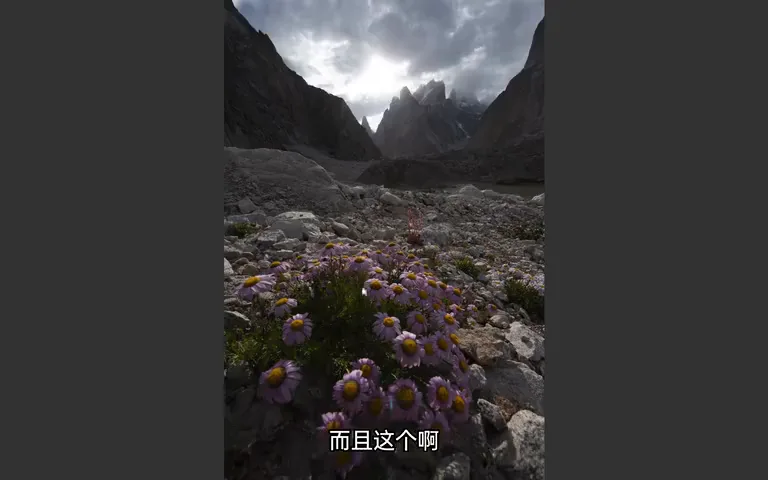
The alternative would be something like focal-length blending, but he prefers warping the mountains inside this single frame back to a natural look — wide-angle, perspective-exaggerated flowers paired with a normally rendered range (at 3:07-3:26 in the video).
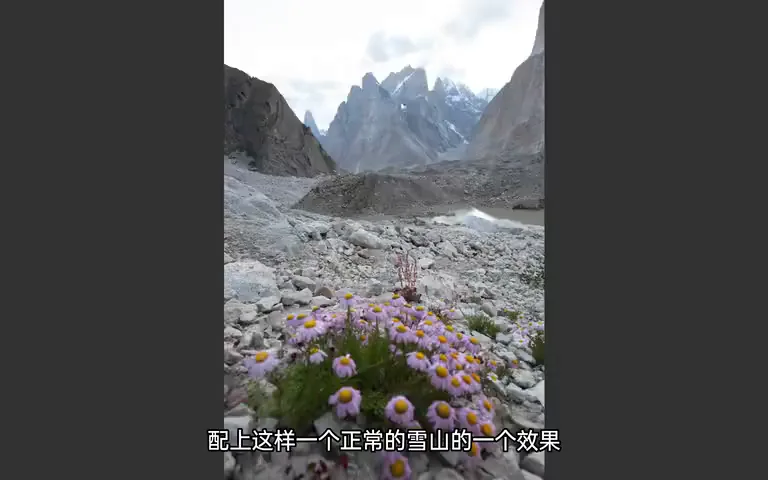
03 Repair and Blending: Making the Base File Usable
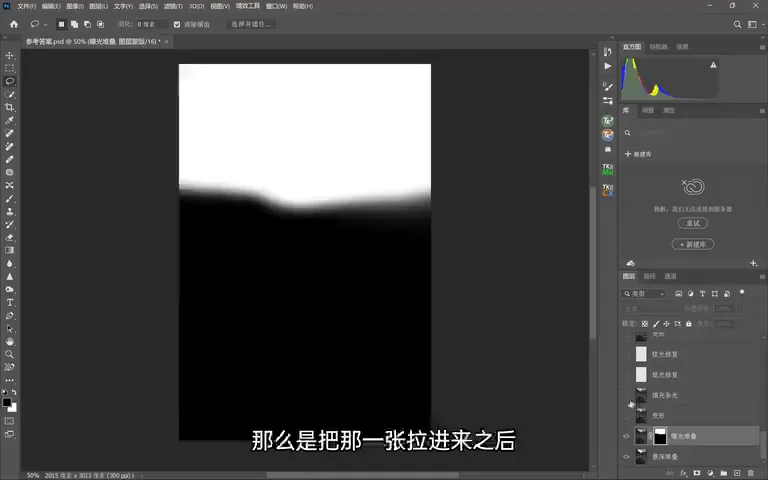
The exposure blend is mask-based: drag the underexposed frame in as a layer and mask in its sky, merging that cloud detail onto the base (at 3:59-4:07 in the video). Then comes a second warp — stretching the distant range toward what the eye expects and pushing the taller side peaks out of the frame, so the central mountain reads bigger and grander (at 5:00-5:14 in the video).
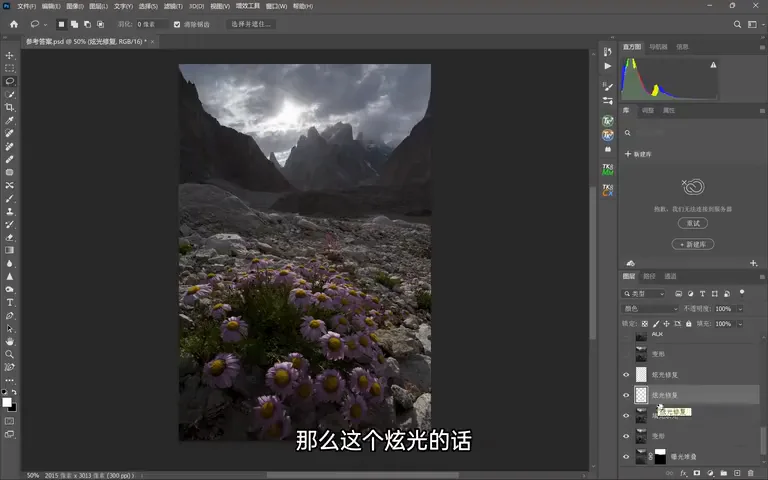
Flare is the other enemy: shooting into the sun on a Nikon D750 with the 14-24mm f/2.8 left flares front and back. The repair has two layers — a Color-blend layer to pull the flare's hue back to its surroundings, then a Soft Light layer where dodge and burn even out the luminance, until the flare essentially vanishes (at 4:28-4:56 and 5:26-5:43 in the video).
04 The Heart of the Look: Masked Light Blending and Tyndall Rays
Next comes the masked light-blending technique Western photographers lean on. Add a Brightness/Contrast layer pulled far down, darkening the whole photo at a stroke; then a Color Balance layer cools everything — the frame is now uniformly darker and colder (at 5:46-6:12 in the video).
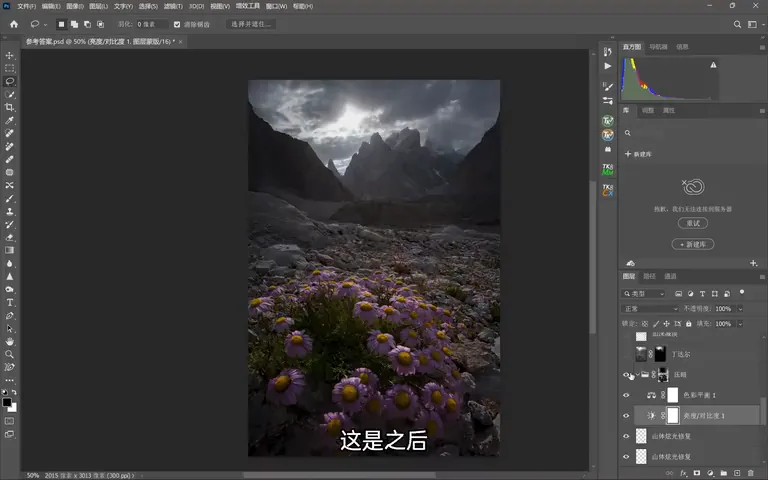
That dark, cool pass is only the base coat: on its mask, paint back with a black brush everything that should glow — the distant skylight and the highlights on the flowers return to normal brightness while the cluttered background stays sunk in cold shadow. Layered light-dark and warm-cool contrast emerge at once (at 6:13-6:31 in the video).
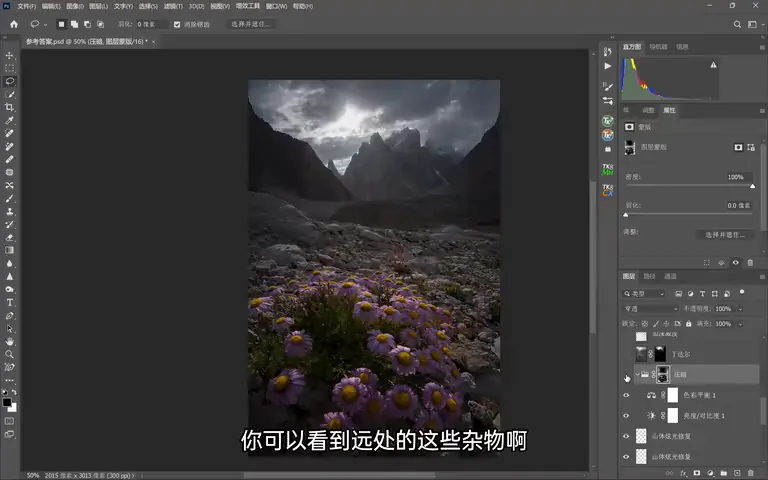
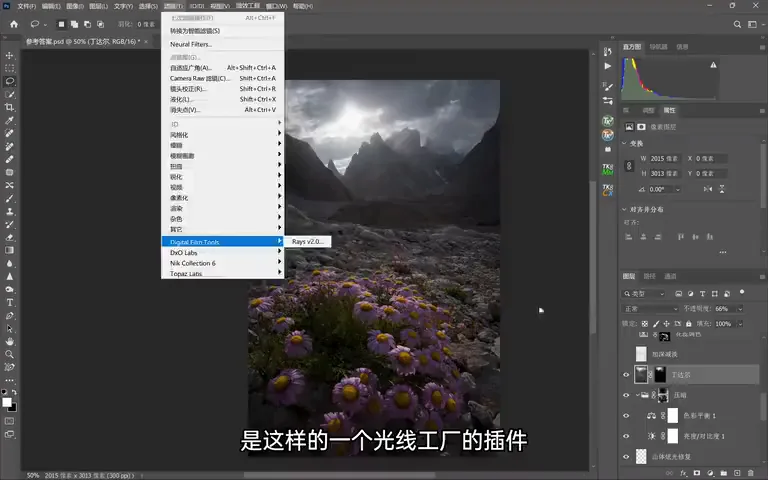
Then the Tyndall effect gets a boost. Besides brushing light by hand, Thomas uses the Digital Film Tools Rays plugin to layer extra beams onto the already strong backlight, multiplying the atmosphere; dodge and burn then push the flowers and far peaks forward (at 6:36-6:56 in the video).
05 Final Polish: Making the Flowers Stand Out
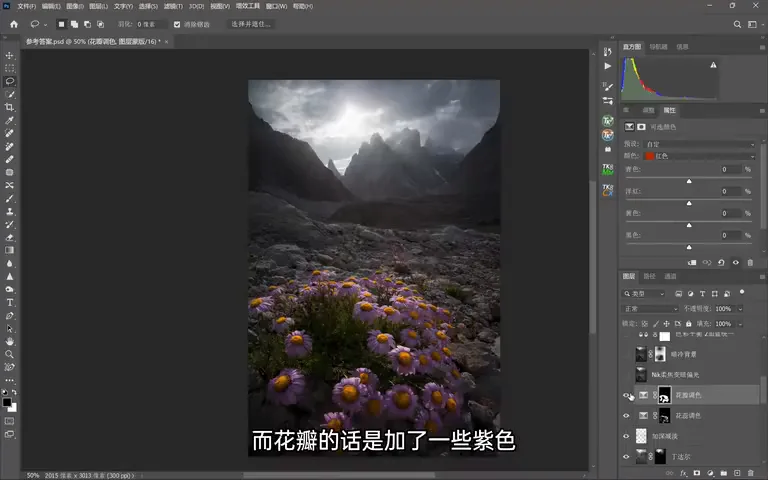
On to fine color work: the flower centers gain a touch of orange, the petals a touch of purple, lifting them out of the background; a subtle soft-focus effect goes over the whole frame, while lightening and darkening keep emphasizing the image's center (at 6:59-7:16 in the video).
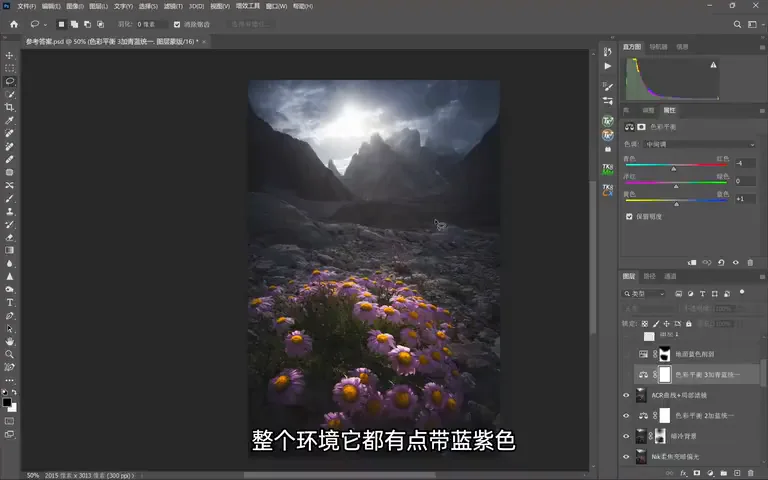
Next, the background is cooled a little more via white balance, with a mask painting the flowers and the distant light right back; a Color Balance layer then gently re-unifies the flowers with their environment (at 7:18-7:33 in the video).
The finish happens in Camera Raw: radial and gradient filters unify the frame, then a touch of cyan-blue is added — the flowers are purple, the environment had drifted blue, and blue against purple lacks contrast; once the background turns cyan, the purple flowers pop against it (at 7:36-8:01 in the video). Dodge and burn then strengthen the subject's dimensionality, a masked sharpening raises the flowers' clarity and texture, the background is dimmed a touch, and the final image is done (at 8:03-8:21 in the video).
1. Extreme scenes are won in the field: 12 focus-stacked frames conquer depth at 20 centimeters, and one underexposed bracket rescues the clouds. 2. A low, tilted camera gives the foreground its punch at the cost of distant distortion — correct the warp in many small steps, watching horizontal and vertical lines. 3. The atmosphere formula: darken and cool the whole frame, mask the highlights back in, then let Tyndall rays carve the layers of light. 4. Color grading is not about prettiness alone — every tonal and warm-cool choice should serve the statement: the majesty of the peaks, the vitality of the flowers.
HD video:
https://www.bilibili.com/video/BV1m1421o7Uf/
Scan the QR code above or click "Read More" at the end of the article