Photography Tutorial · 2019-01-08
Winter Ice & Snow Photography: Hard-Won Lessons That Cost Thousands
I'm AdventureX photographer Joyous (Zhou You)
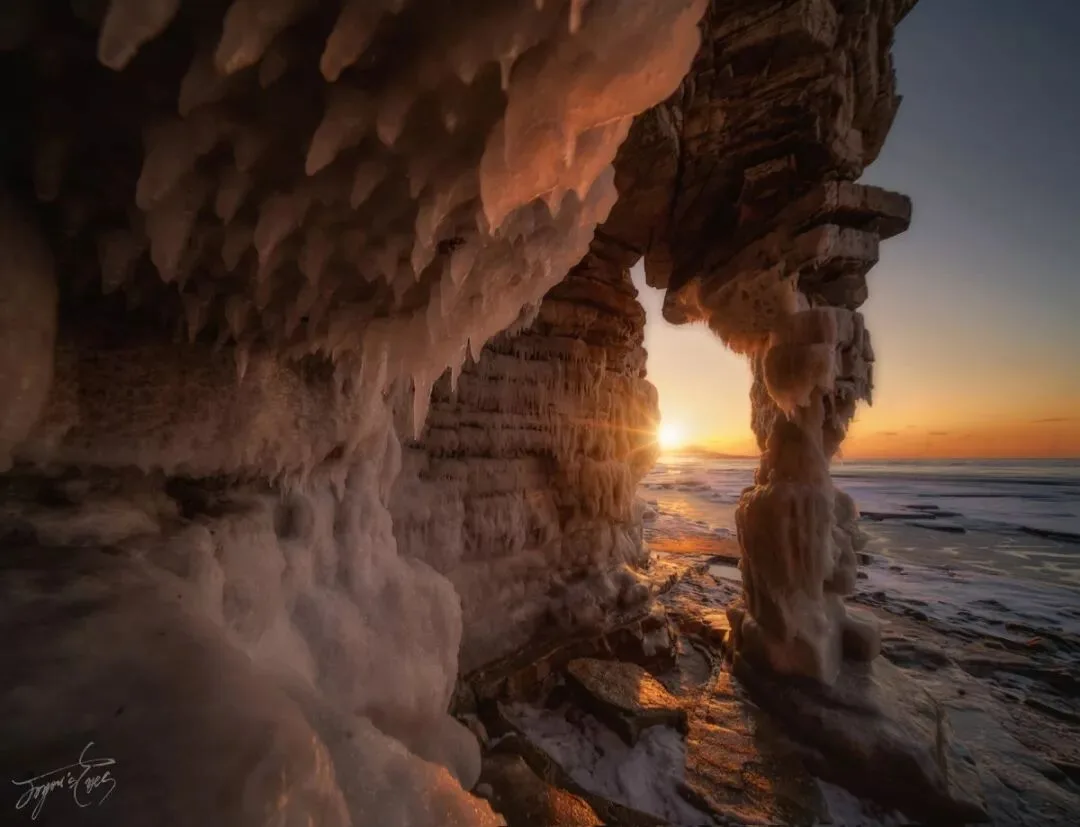
Introduction
In deep winter, when heavy snow flies and ice covers the land, it's prime time for ice-and-snow photography. Countless snow photos are taken — yet very few truly move people.
Enthusiasts especially greet ice and snow with joy, yet rarely come home satisfied. The reason is usually a failure to grasp the essentials and the particularities of snow photography. As a landscape photographer from Northeast China, I'll share the essentials drawn from years of hard-won experience.
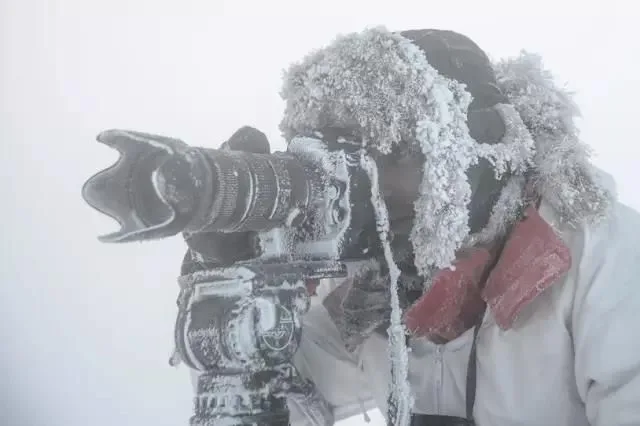
Snow photography is hard, first of all, because conditions are brutal: you can't just stubbornly wait for light in a snowfield as usual — neither you nor your gear can take it.
So snow photography demands accurate prediction of weather and environment — planning within the tent, victory a thousand miles away — plus unyielding perseverance.
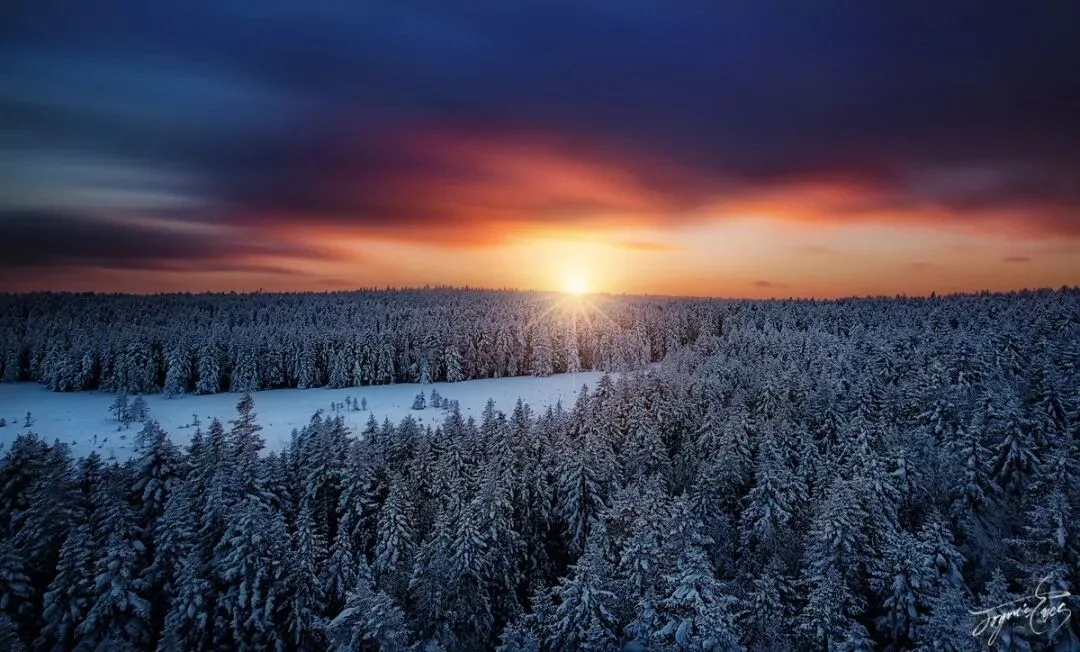
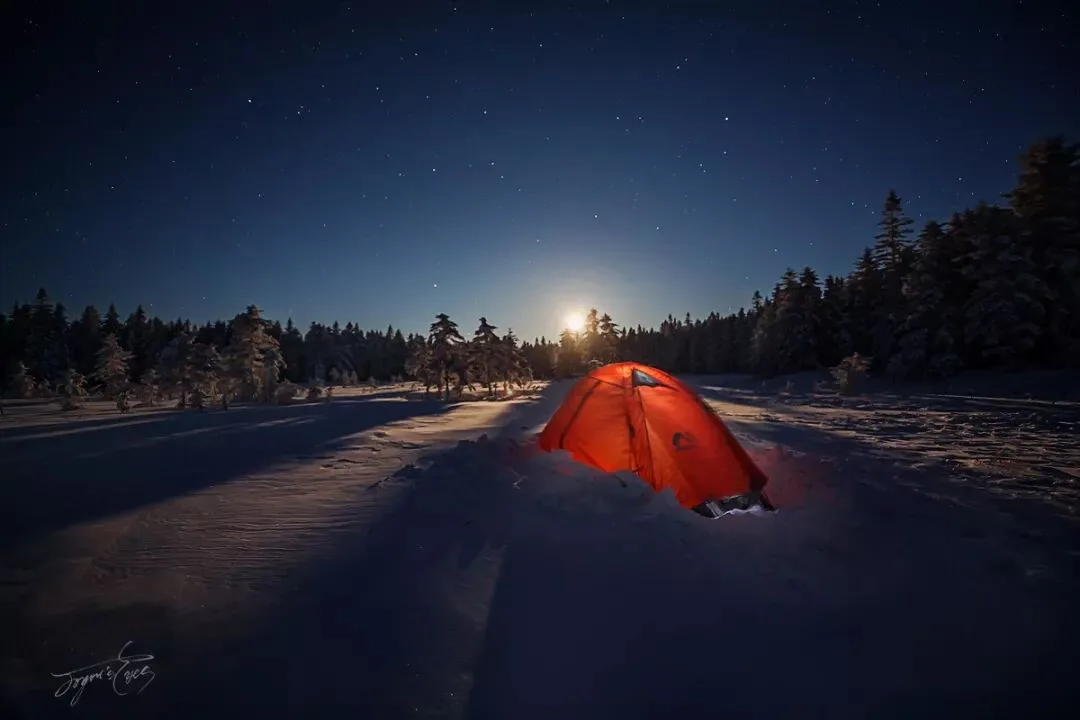
To photograph the vast snowy forest sea, I carried a tent alone deep into trackless wilderness. No people, no lodging of any kind.
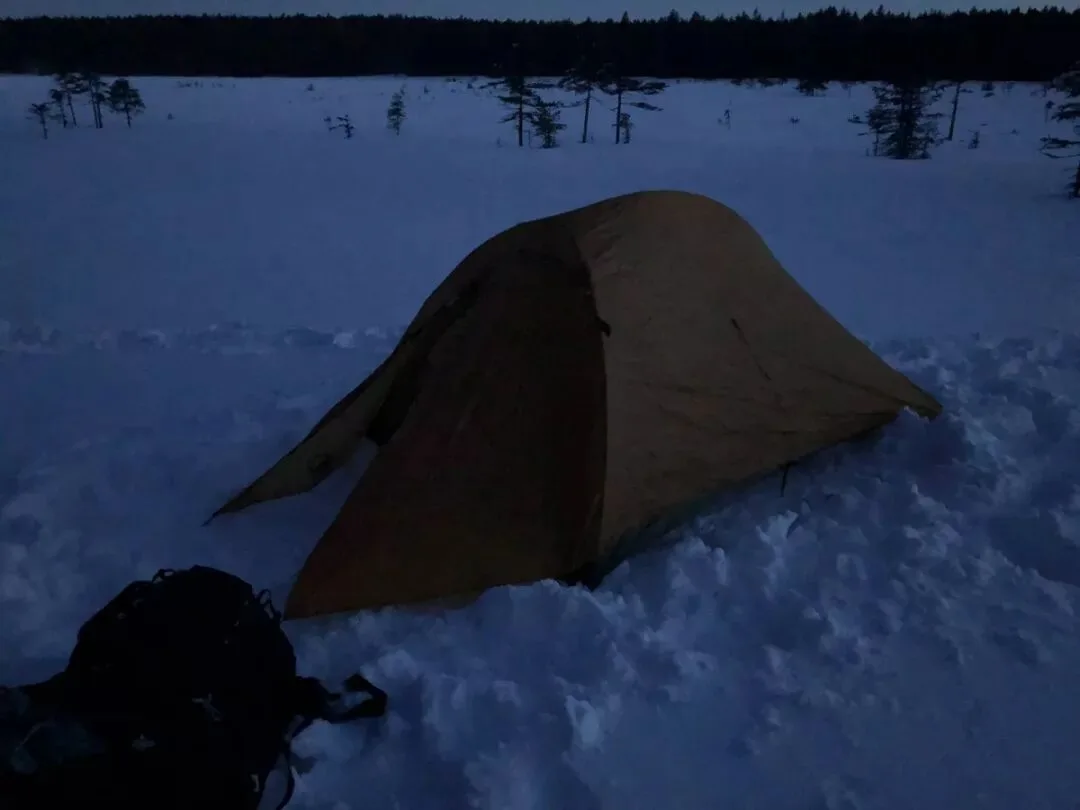
The snow was a meter deep and the temperature −40°C. Survival itself was hard, let alone photography. The north wind howled across the plain, carving its tracks. I had to dig a pit two meters long and wide, half-burying my tent in it for shelter. Fortunately I had a sleeping bag rated for −40°C.
Camping in the snow
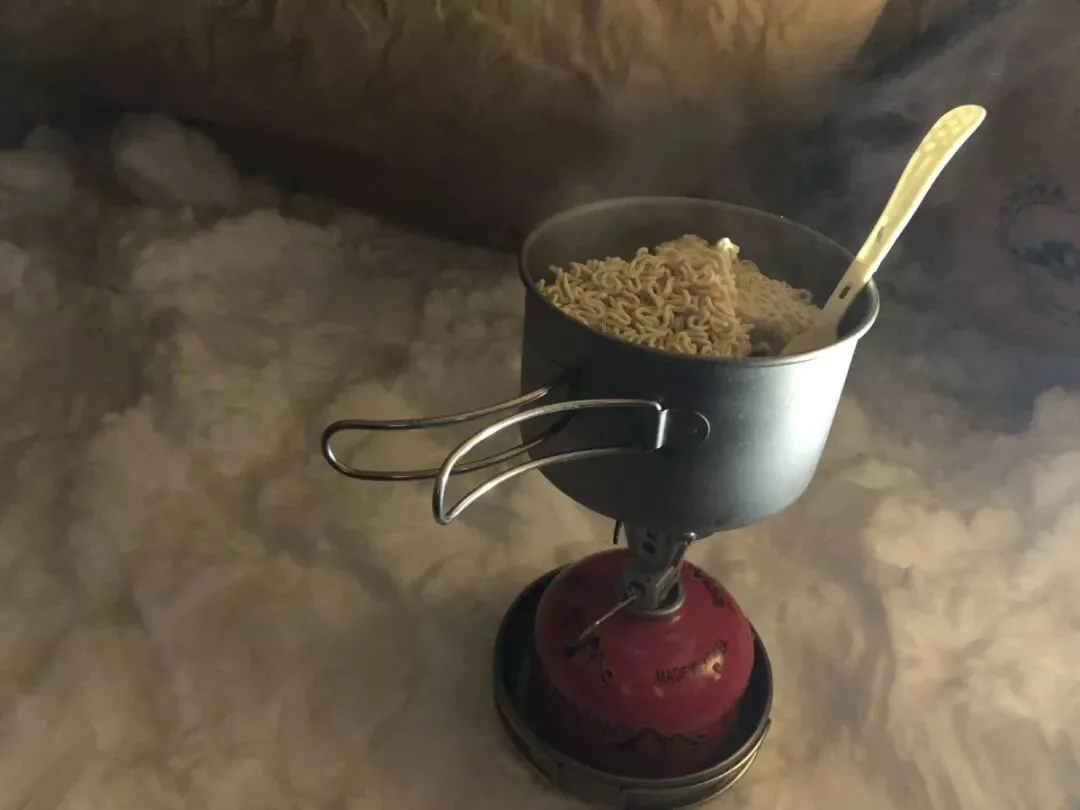
Melting snow to cook noodles
That night the wind was so strong it seemed the tent would fly apart. Freezing, I had to find a way not to die there. Luckily I had a gas canister, an outdoor stove and a pot: I planned to melt snow, boil it, fill my thermos, drink some, and use the rest as a hot-water bottle inside my sleeping bag.
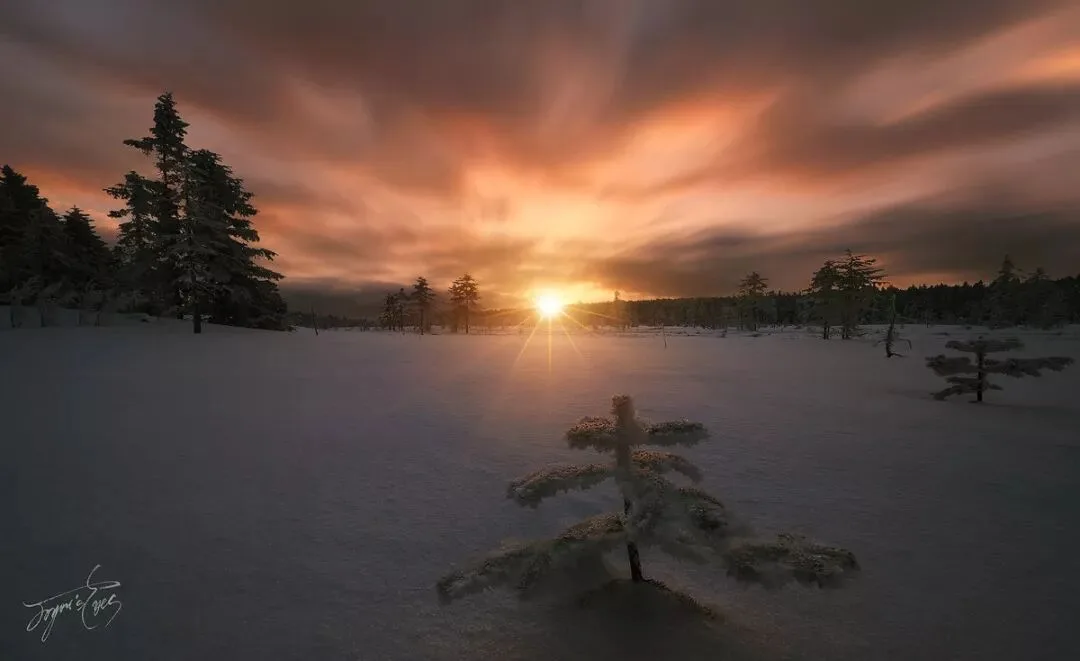
But it was so cold the gas wouldn't vaporize and the canister wouldn't light. I rubbed and shook it for ten minutes before it finally caught, melted some snow, and warmed myself — surviving a night camping in the forest sea. Diligence is rewarded: the next morning brought glorious fiery clouds, and I climbed the fire lookout tower barehanded to capture this 'Forest Sea Dreamland'.
What should you watch out for when shooting snow in the field?
1. Vehicle Safety
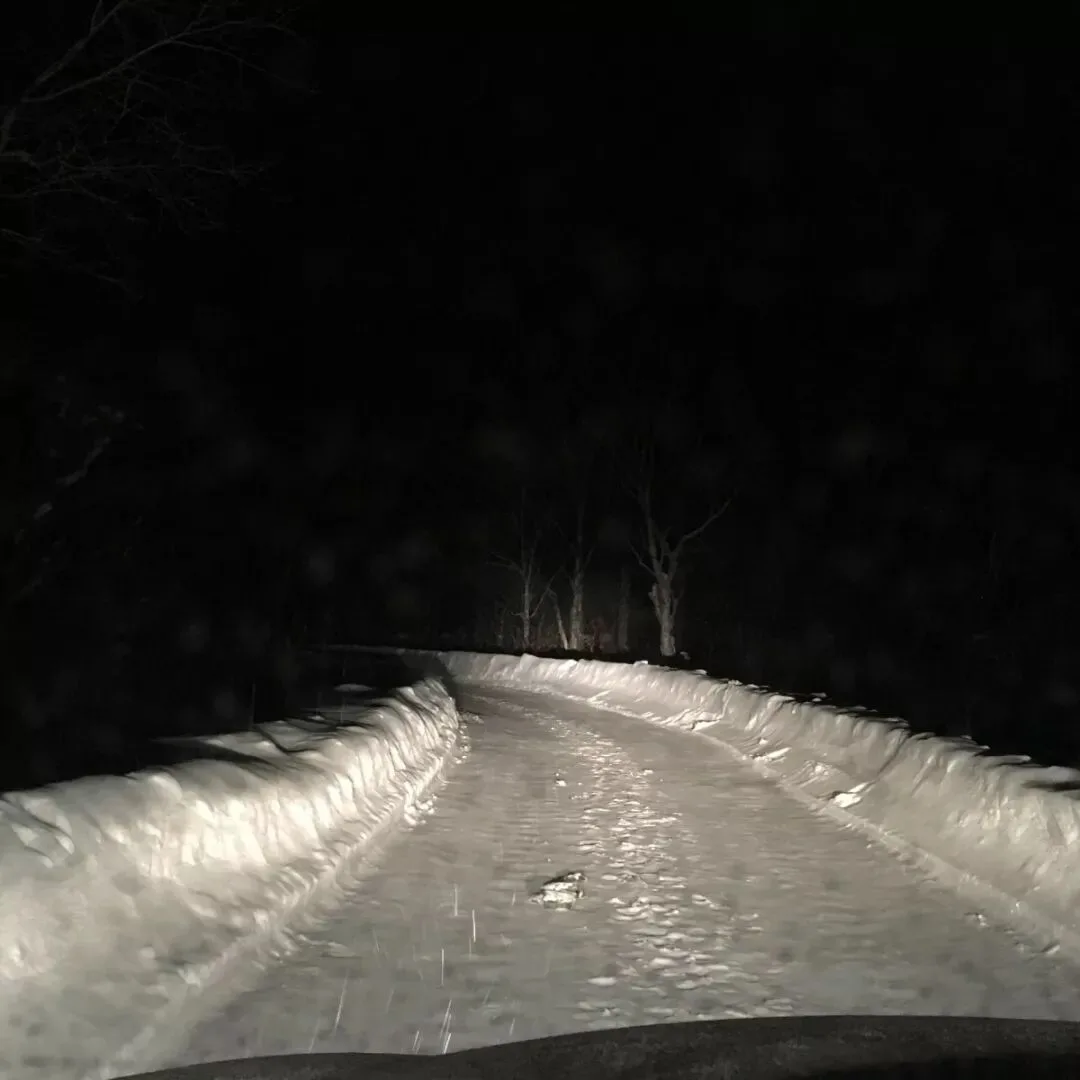
Switch to antifreeze engine oil and antifreeze washer fluid; avoid diesel cars; fit snow tires and chains. On descents, don't slam the brakes; don't brake through corners either.
Snowy mountain roads
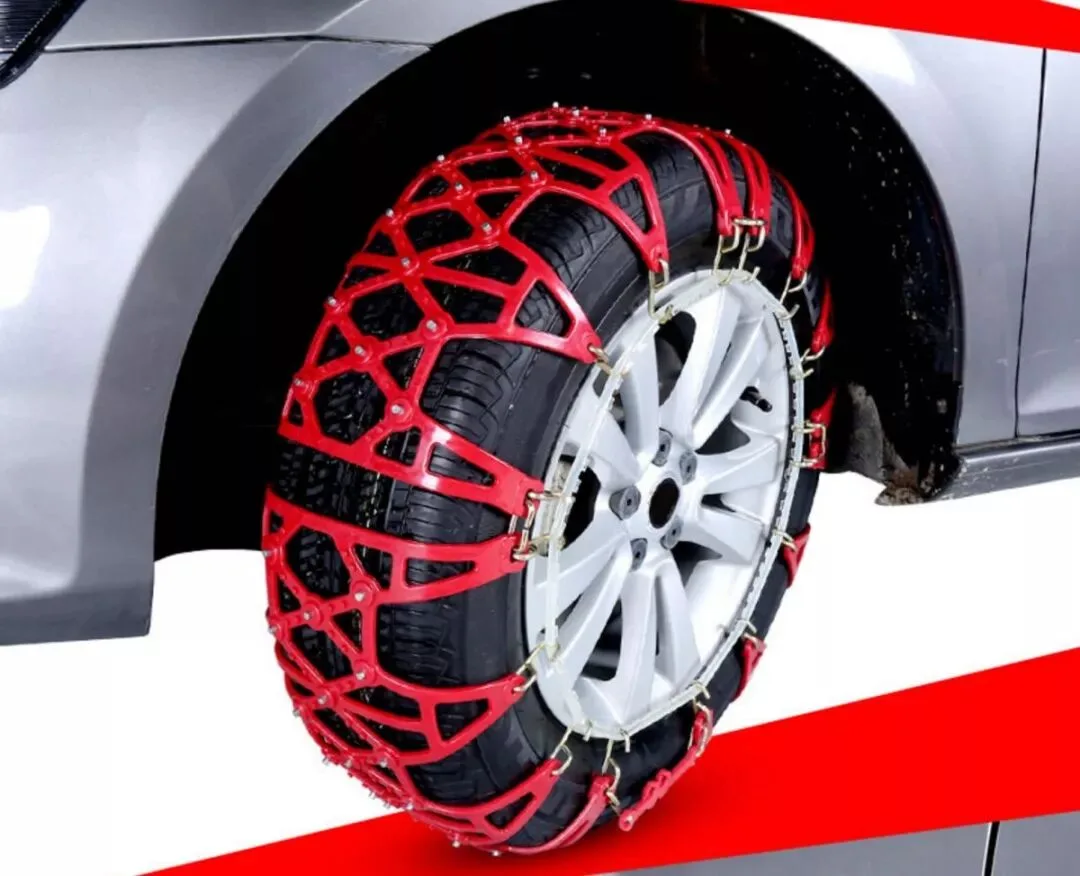
Snow tires + chains
2. Personal Safety
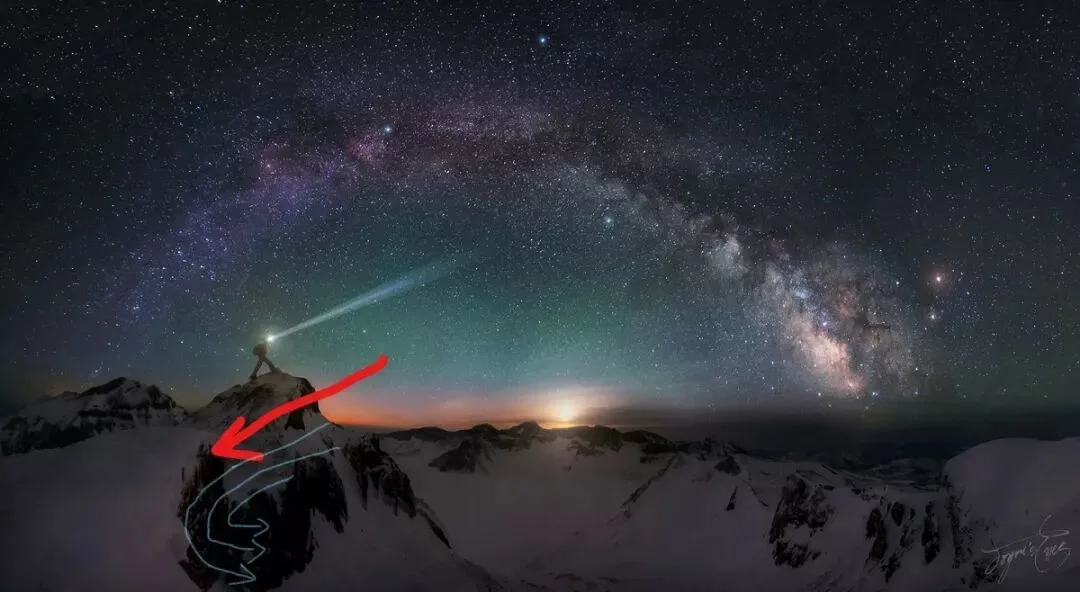
'Heavenly Palace Above the Clouds'
For this shot at Changbai Mountain, I placed my tripod right at a cliff's edge, then circled to the opposite peak for a self-portrait. In the dark I hadn't realized how dangerous the tripod spot was. Shooting sunrise the next morning, I saw from the side: one more step forward with the tripod and I could have fallen. I still shudder thinking about it.
In the North, after snowfall, summit winds compact the snow; wind then hollows out the snow at cliff edges from below, and new snow covers it again — cycle after cycle, forming 'snow mushrooms' that are completely hollow underneath. Step on one and it collapses. So in mountain snow photography, always stay away from cliff edges — especially at night, when the terrain is invisible.
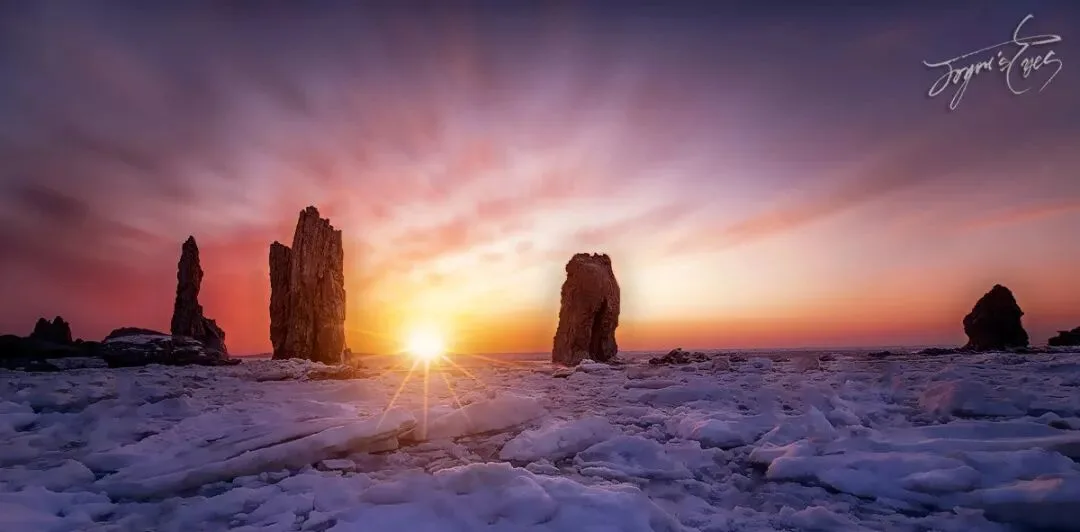
'Sun Sinking into the Icy Sea'
The tide kept rising and the ice began to float. But I knew I'd never get this vantage point again — this is the side view of the 'Thunder's Fury' spot, an angle perhaps no one else would risk. So I steeled myself, stood on the floating ice, and finished the scene with stacked long exposures.
Retreating nearly cost me my life. Big waves rocked the ice violently and threw me into the icy sea. In my right hand was the huge RRS-33 tripod bag — I couldn't swim with it, and my camera bag was on my back. At the critical moment I threw the tripod bag onto the ice first, then swam hard, keeping my back as dry as I could. Survival instinct ignored the cold. I finally grabbed the ice edge and climbed out. Had the ice pinned me under, I'd truly be gone — my closest brush with death on a shoot.
If you fall through ice, don't panic — here's a video teaching self-rescue!
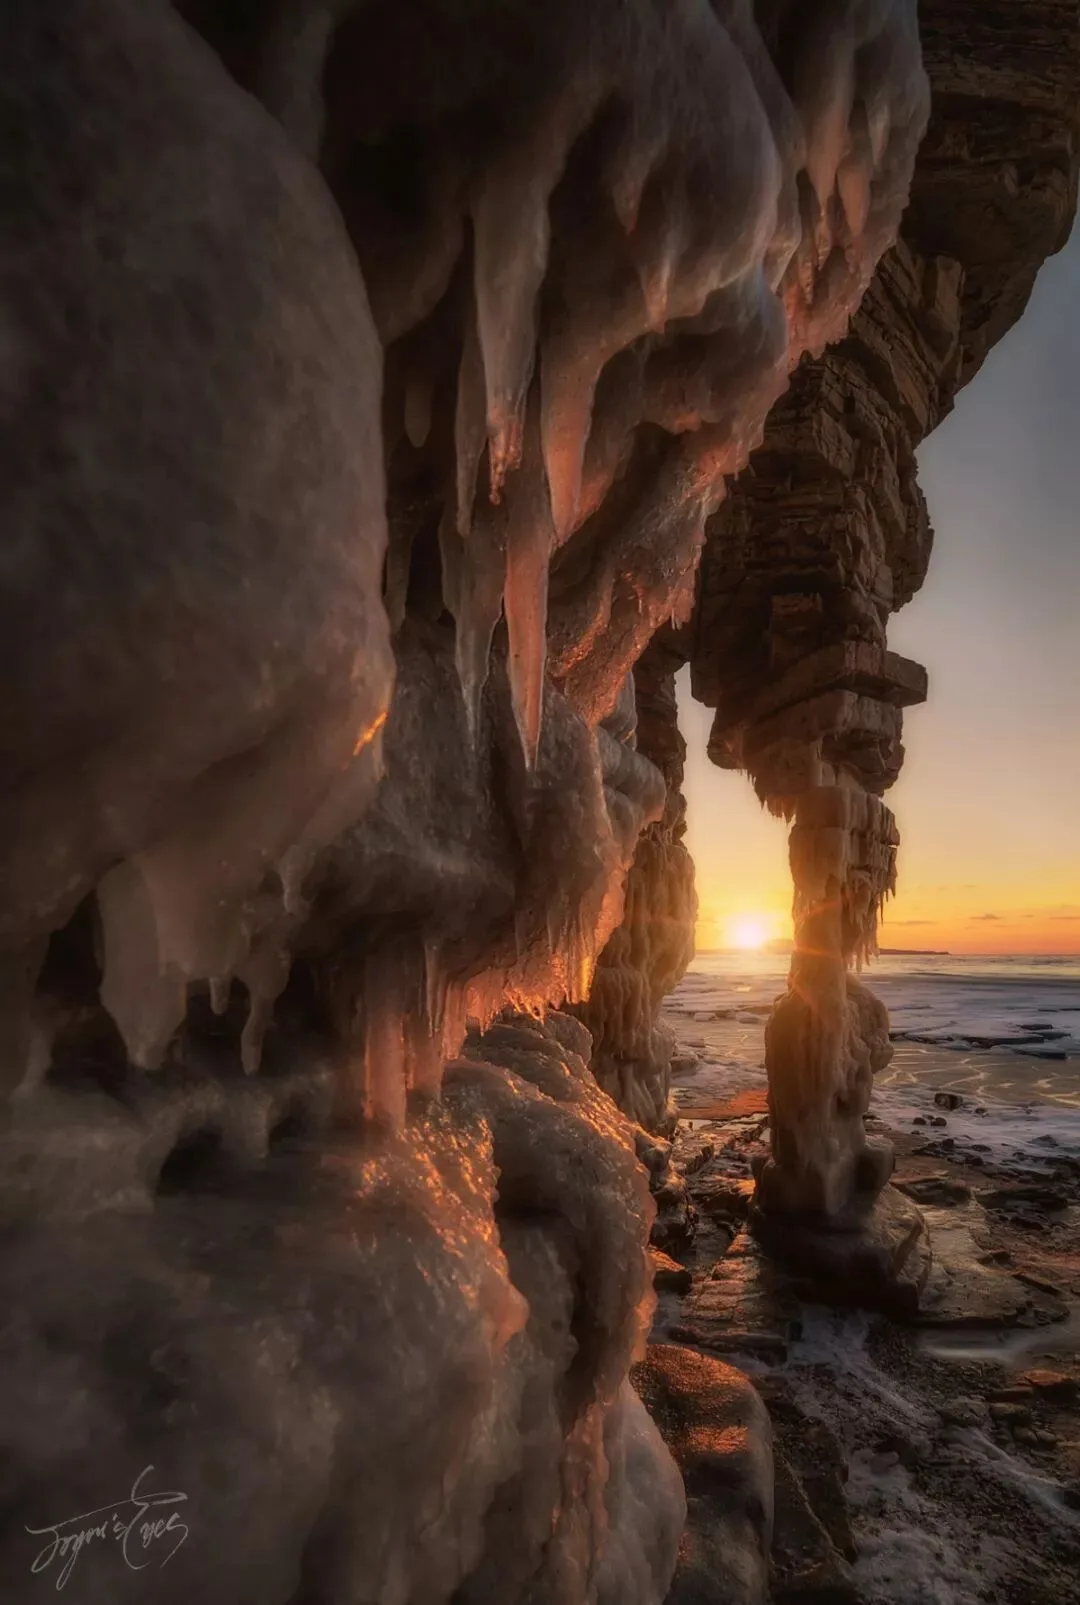
'A Thorn at My Back'
When shooting icy seas in northern winters, you must know the tide tables. A sea surface that looks frozen solid can be soaked and hollowed out by the rising tide — one step and you may plunge straight into the sea.
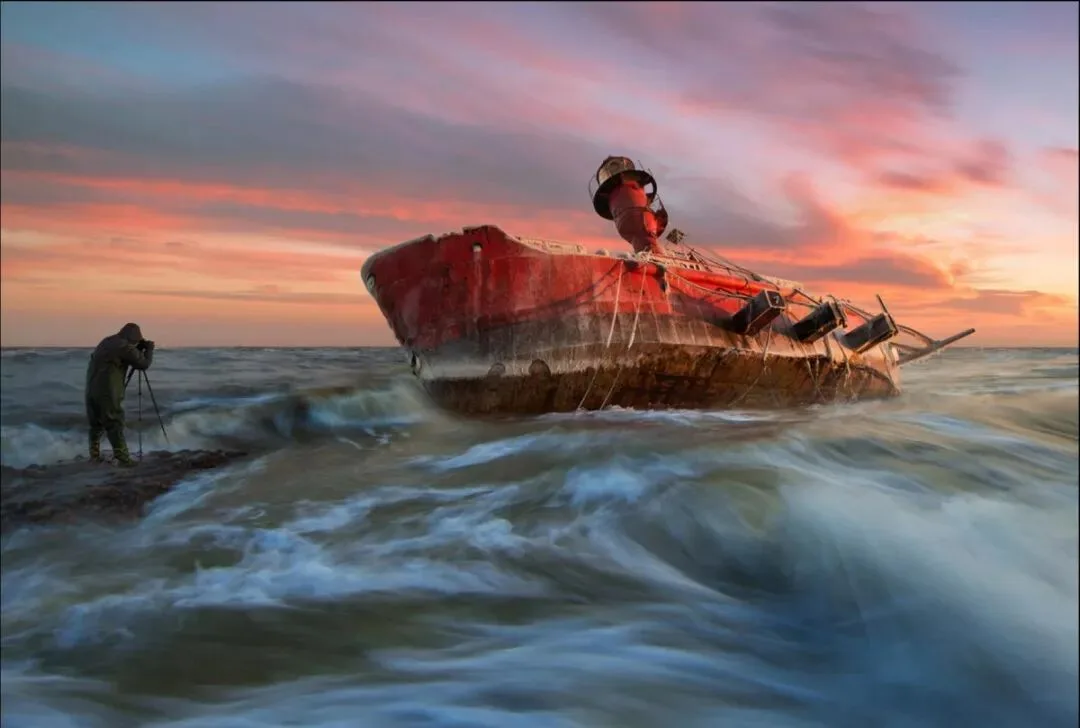
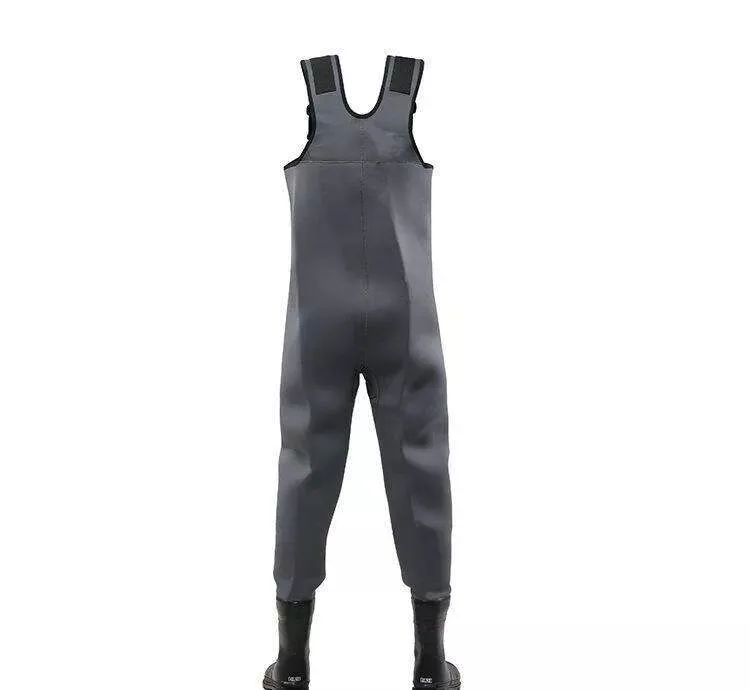
Even shooting from shore in winter, wear waders to avoid getting drenched by big waves. Once wave-soaked, your clothes freeze instantly in the north wind — you won't last ten minutes out there, believe me.
3. Staying Warm
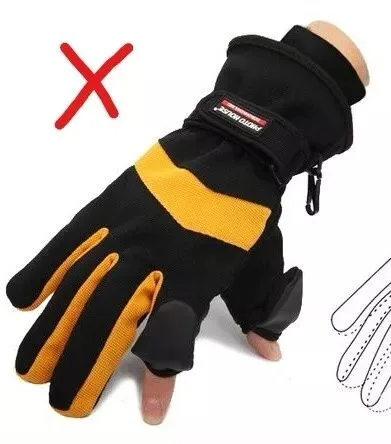
Beyond heavy clothing, prepare scarves and cotton masks as needed, plus one crucial item — gloves. The key point: never leave your hands bare in the air. Southern photographers, especially drone pilots, like fingerless gloves — at −20°C in the North, don't expose your fingers. Wear thin touchscreen gloves under ice-climbing gloves.
Not suitable below −20°C
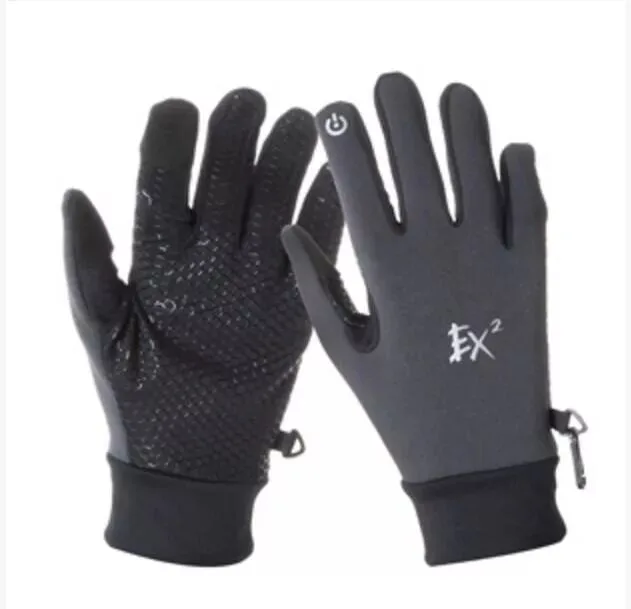
+
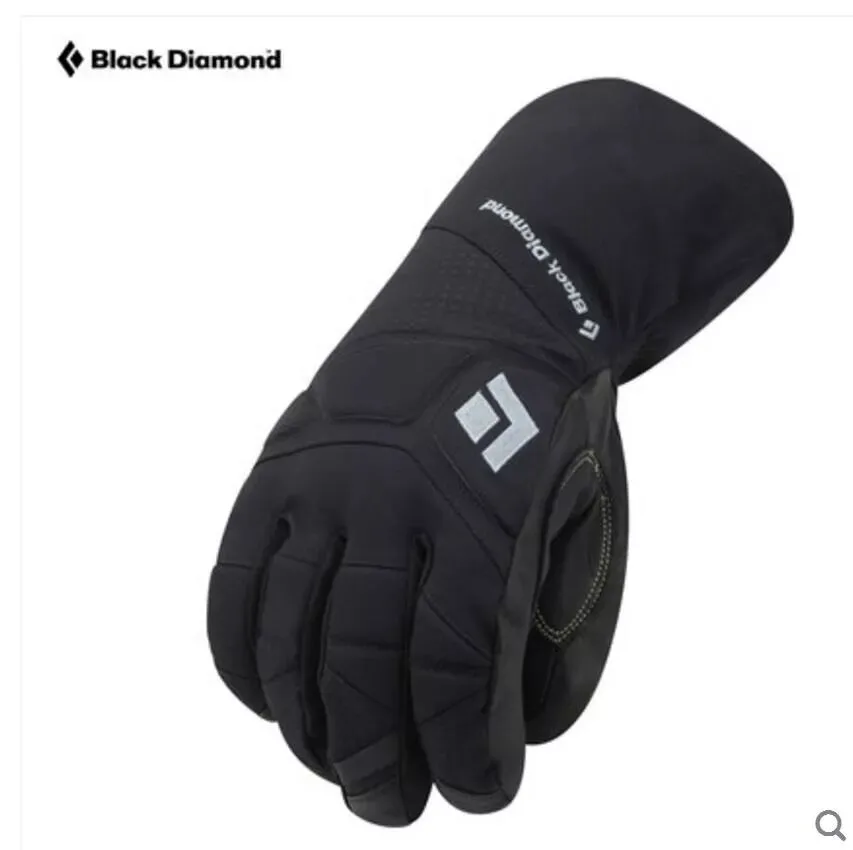
Touchscreen gloves + thick ice-climbing gloves
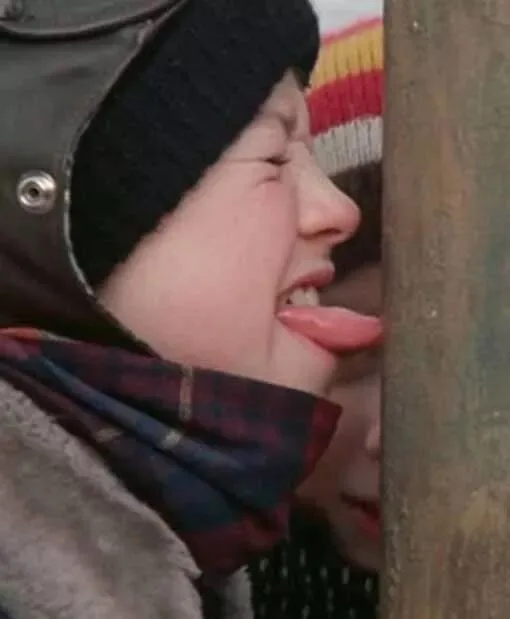
Warning: never touch any metal at −20°C with your bare flesh!
4. Warmth = Dynamic + Static Insulation Combined
Down jacket while shooting
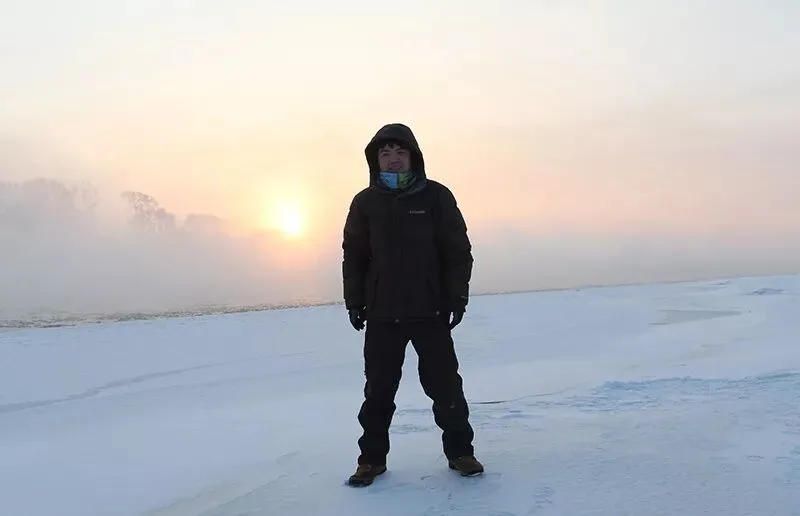
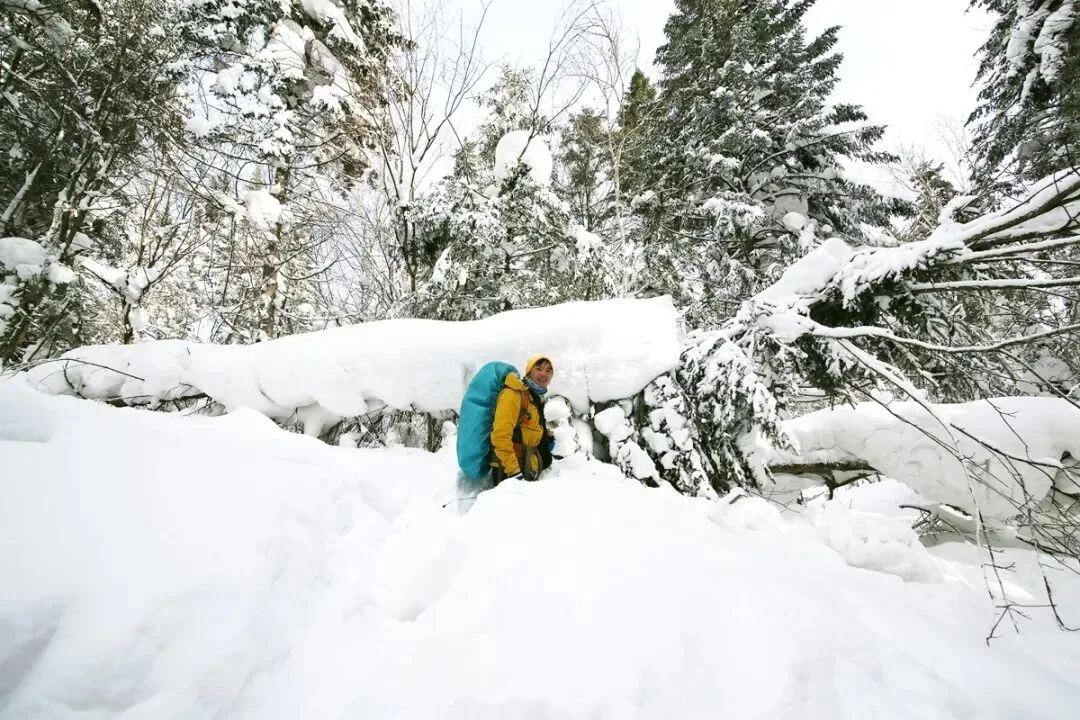
Hiking insulation layer + shell jacket
Shooting the snowy forest sea meant trekking through it to find vantage points — heavy-load crossings, snow often a meter deep. Yet while trekking I wore only a windproof shell over a thick fleece.
Because exercise generates heat, the right balance matters: in such cold, try not to sweat while moving. Once you sweat and then stop, you lose heat fast — dangerous hypothermia territory.
Sweat carries away enormous heat. So I skip the down jacket while hiking — avoid overheating on the move, avoid arriving sweaty at the shoot. That's what I call dynamic insulation: my usual choice is Columbia Omni-Heat base layers, and Omni-Heat hiking boots too. In snow this deep, gaiters are a must to keep snow from pouring in.
For the active insulation layer, always wear quick-dry, sweat-wicking underwear — absolutely never pure cotton. Inexperienced people wrongly assume cotton is best. Dead wrong.
We all know it: once cotton underwear absorbs heavy sweat from exercise, it stays wet for ages — miserable anywhere, and in deep winter it can chill the body dangerously, even fatally.
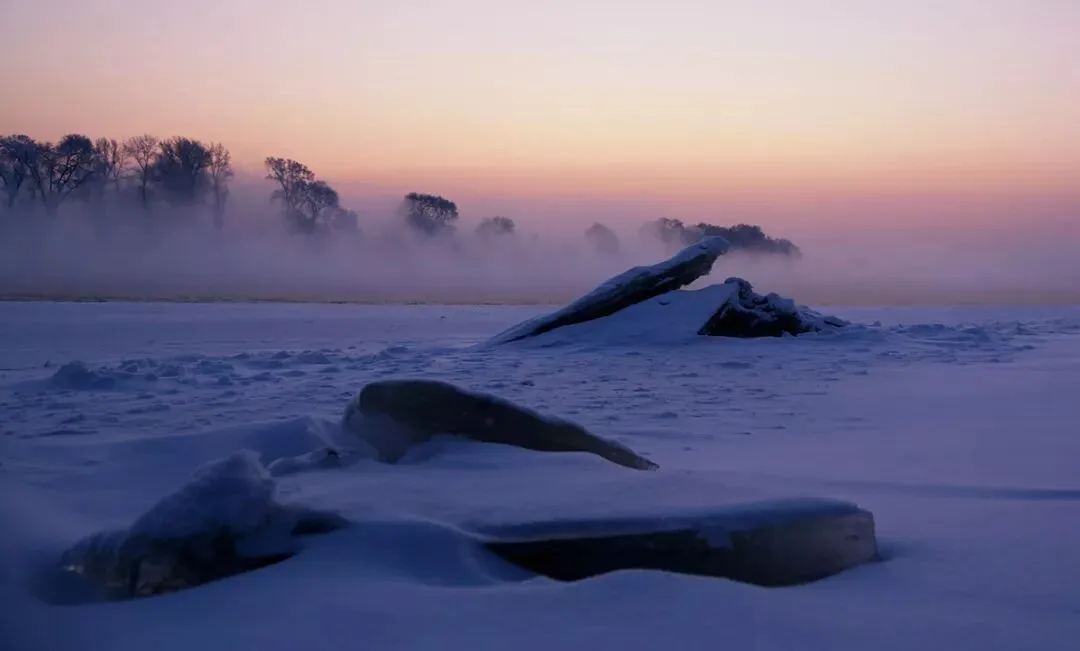
But when waiting for light on the ice at Wusong Island, wear your thickest down jacket, down pants and hat. Standing motionless on ice, the body generates no exercise heat — you can only trap your own heat inside the down. Even so, two hours on ice near −30°C is brutal. For static warmth, down is king.
Because during long outdoor hours without heavy exercise you produce little heat, you need to store heat inside your clothing.
For static warmth, down is warmest — but don't follow the herd on brands. Canada Goose has been overhyped these years; with those prices, plenty of wealthy buyers snap it up. Whether it's good, only wearers know — some feel cold in it even in Beijing, let alone the Northeast! Pricier isn't automatically better. AdventureX's earlier article 'I Don't Wear Canada Goose, Only Arc'teryx' explains it clearly. Spend enough, and people will insist it's warm through gritted teeth.
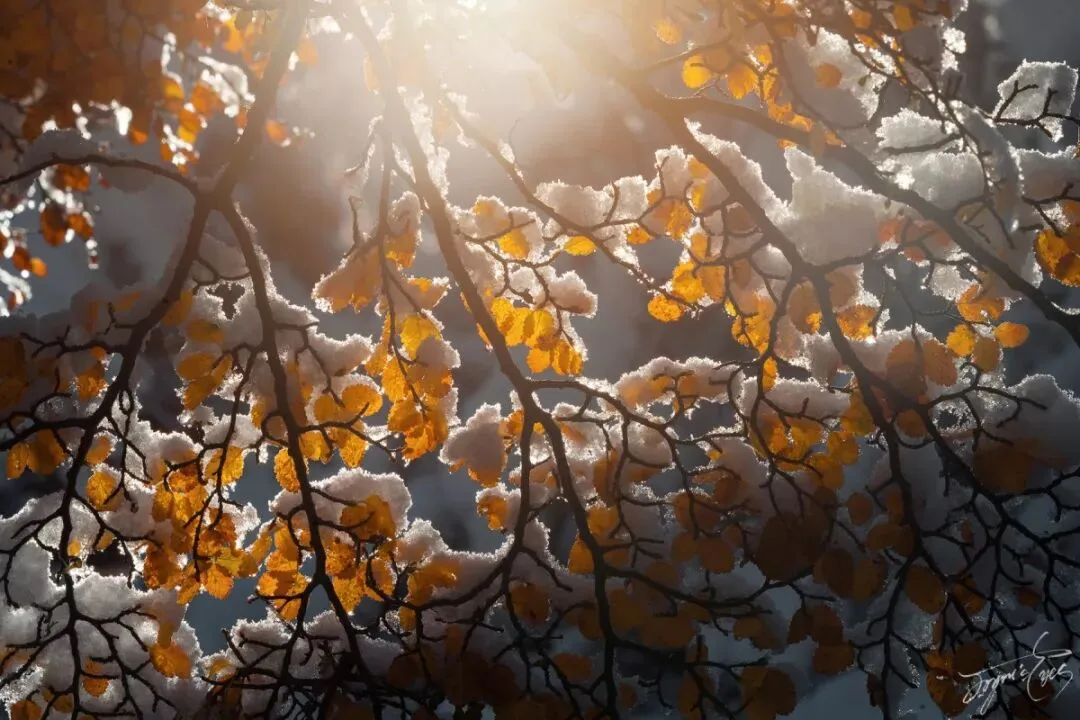
Beyond heavy clothing, prepare scarves, cotton masks and — crucially — gloves. Gloves shouldn't be too short: they must cover the wrists. Nor too thick: over-thick gloves kill finger dexterity, and even adjusting settings becomes a chore.
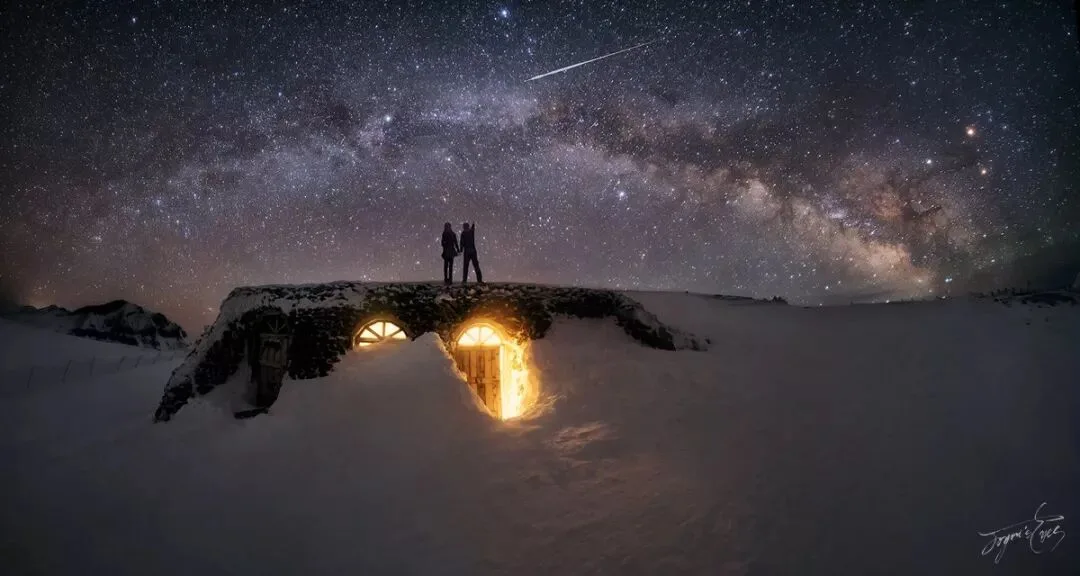
5. Keeping the Camera Warm
Beyond protecting yourself, protect your gear — above all, the camera battery.
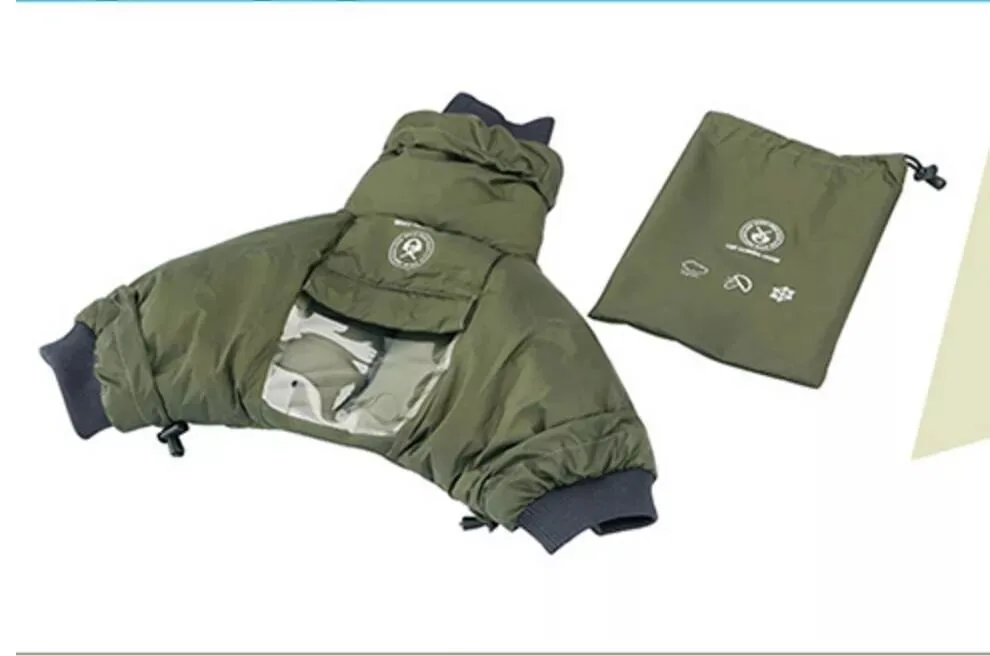
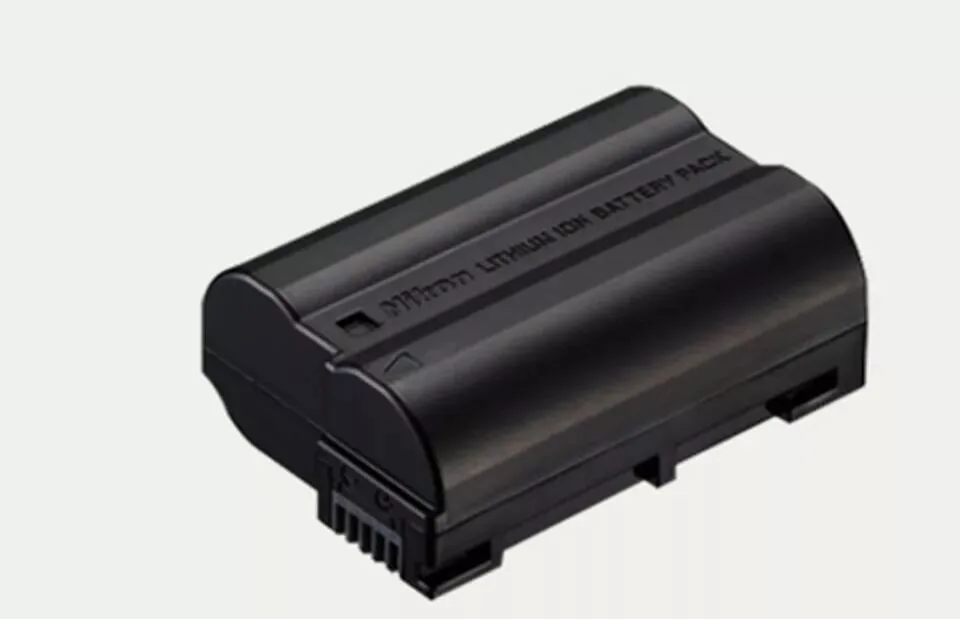

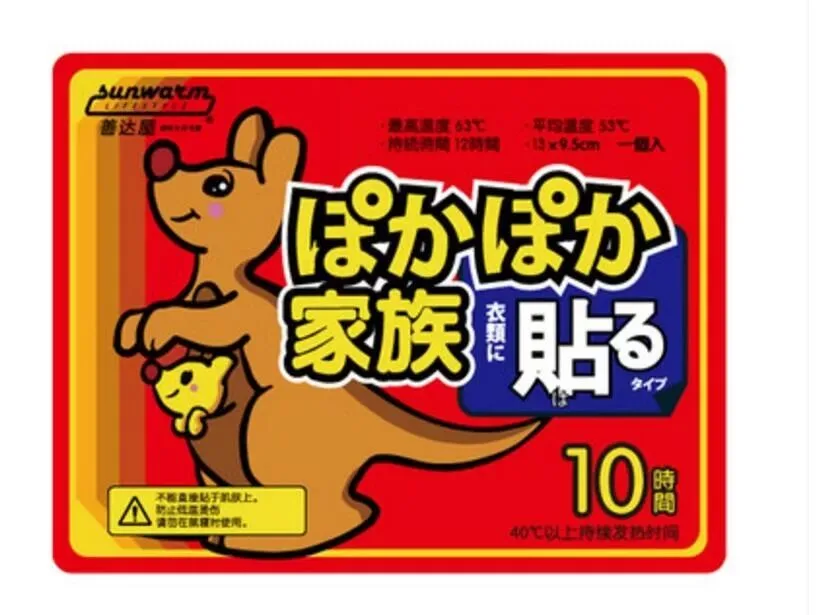
Camera quilt + heat pads
In low temperatures (around 0°C), the battery's electrode reaction slows while output must stay constant, so power drains faster and battery life suffers. For cold-weather shoots, bring spare batteries AND keep them warm (wrapped in cloth in your bag, or with a heat pad). In extreme cold, photographers even store batteries separately from the camera, installing them only to shoot. I usually dress my camera in a quilted cover with a heat pad stuck inside near the battery compartment to slow the drain. Spare batteries go in the inner pocket of my down jacket, against the body.
6. Lens Fogging and Frost
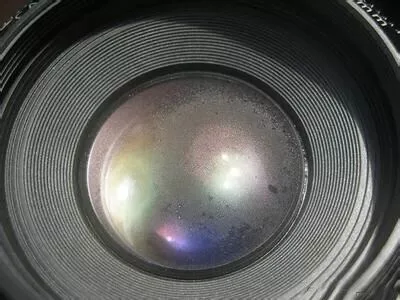
Glasses wearers know it well: walk from cold outdoors into a warm room and your lenses fog over. Camera lenses have the same problem, only worse — it hurts framing, and condensation can form INSIDE camera and lens, causing a cascade of issues that demand attention.
A fogged lens
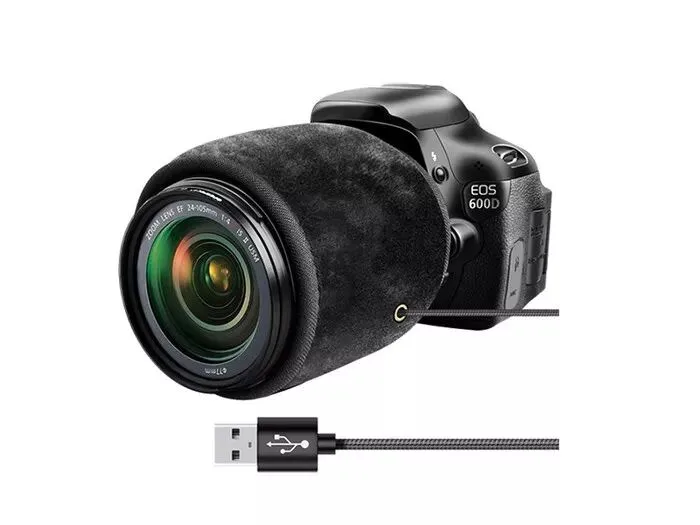
USB heating dew strip
Anyone shooting outdoors in winter knows the annoyance: moisture condenses on the lens in the cold. A USB lens-heating band warms up fast and holds temperature — it starts heating in 5 seconds, can reach 50°C as needed, and averages around 30°C. That keeps the lens from cooling below the dew point, so your gear keeps working as night falls or weather worsens.
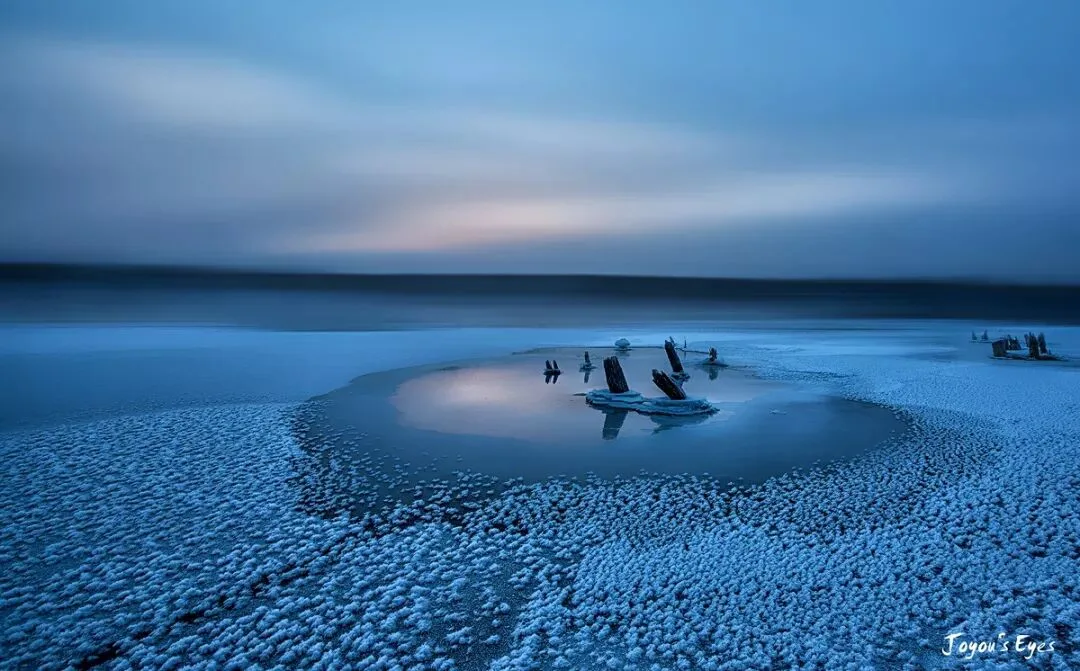
Coming back from the freezing outdoors, we all want to rush inside to warm up. But bring a cold camera into a warm room and it sweats profusely — condensation damages the body's electronics, and the lens sweats too. If you still want to shoot more, you're stuck waiting for camera and lens to slowly dry.
The solution: keep camera and lens close to the outdoor temperature so no fog forms. My habit: coming in from a shoot, I leave the camera in the car trunk, or take the battery out and leave the body outside. Only when I'm sure there's no more shooting do I bring the camera indoors.
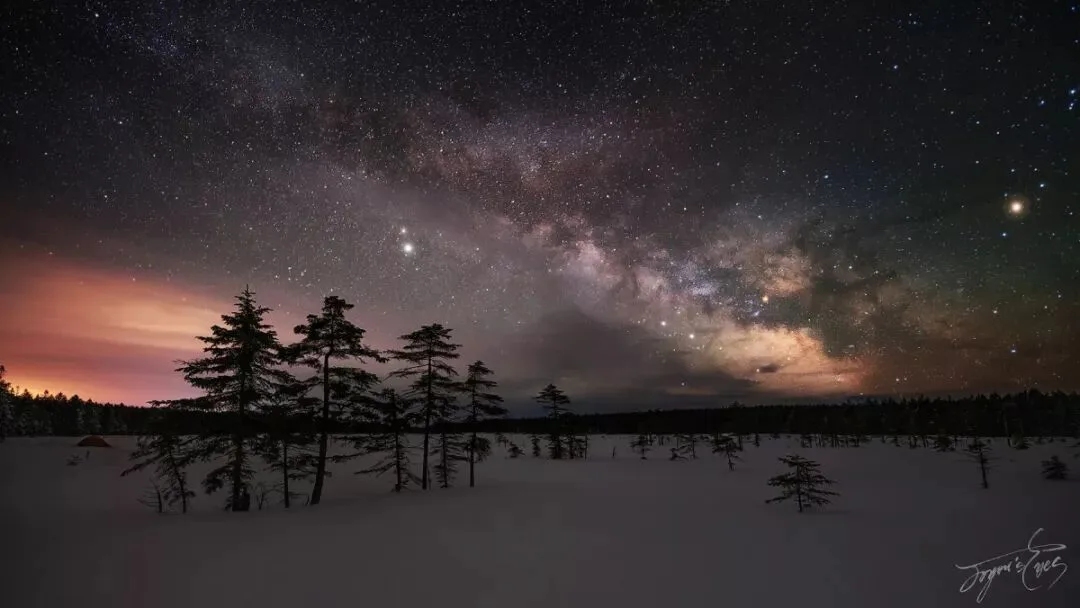
Outdoors, one habit also causes fogging or even frost: putting your face close to the lens, camera or LCD. Your breath is far warmer than the ambient air — cold enough, and your breath can freeze a layer of ice onto the LCD. So don't casually bring your face near the gear; when composing on the LCD, hold your breath briefly.
7. Keep Your Tripod from Freezing
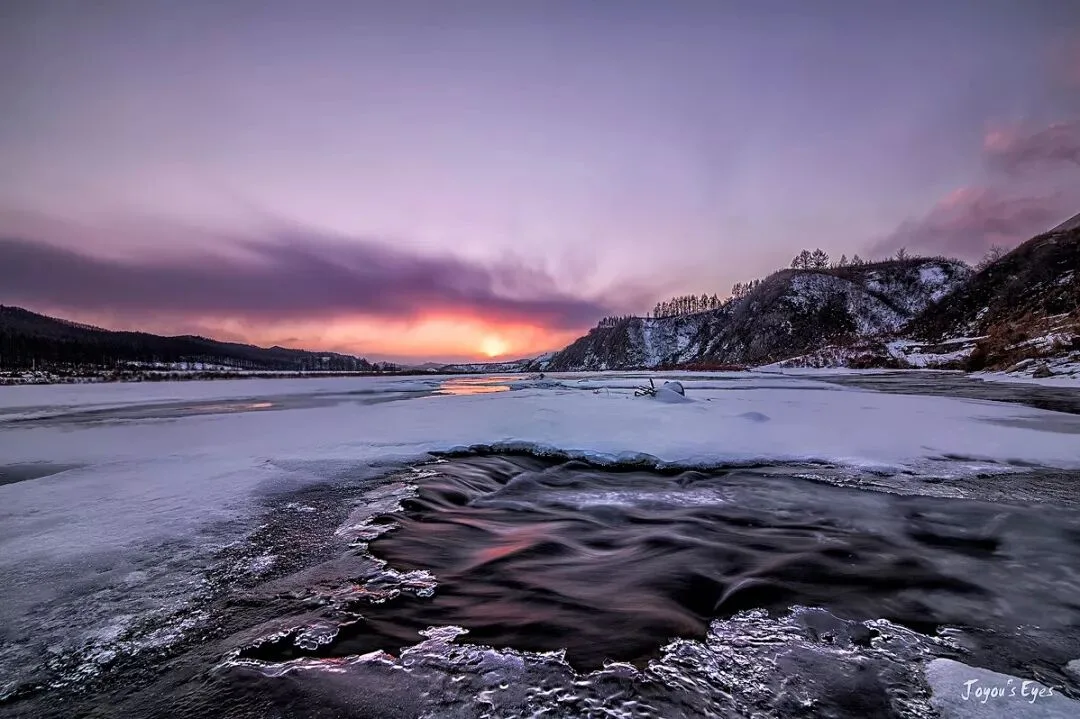
One deep winter I took my tripod to shoot a stream. For a good vantage point I stood it in the river. Afterward, I didn't wipe or dry it — I folded the soaking tripod and threw it straight into the car trunk, heading to the next spot.
Guess what happened? At the next location, the tripod wouldn't open at all — frozen solid. It took a long blast of the car's heater to thaw it.
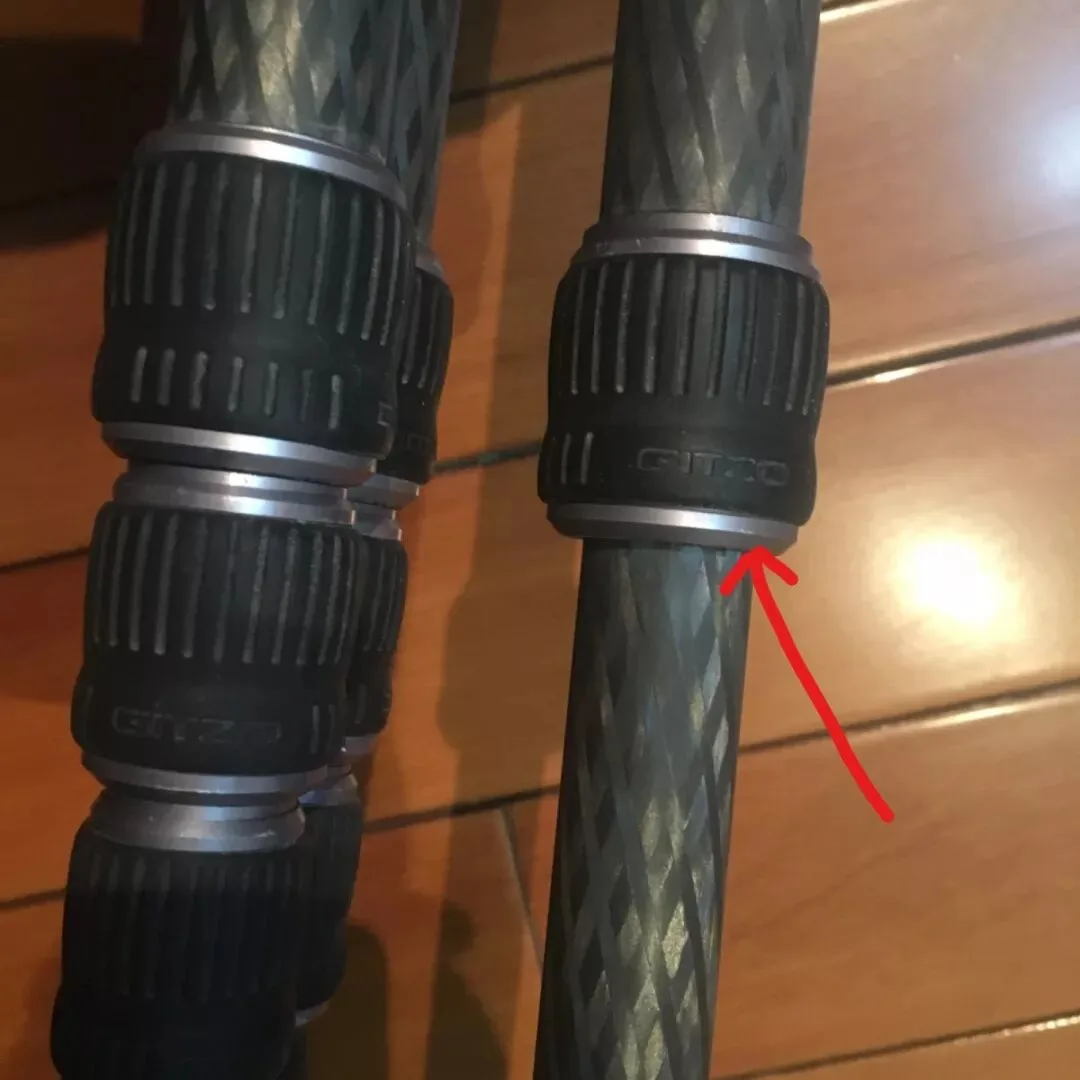
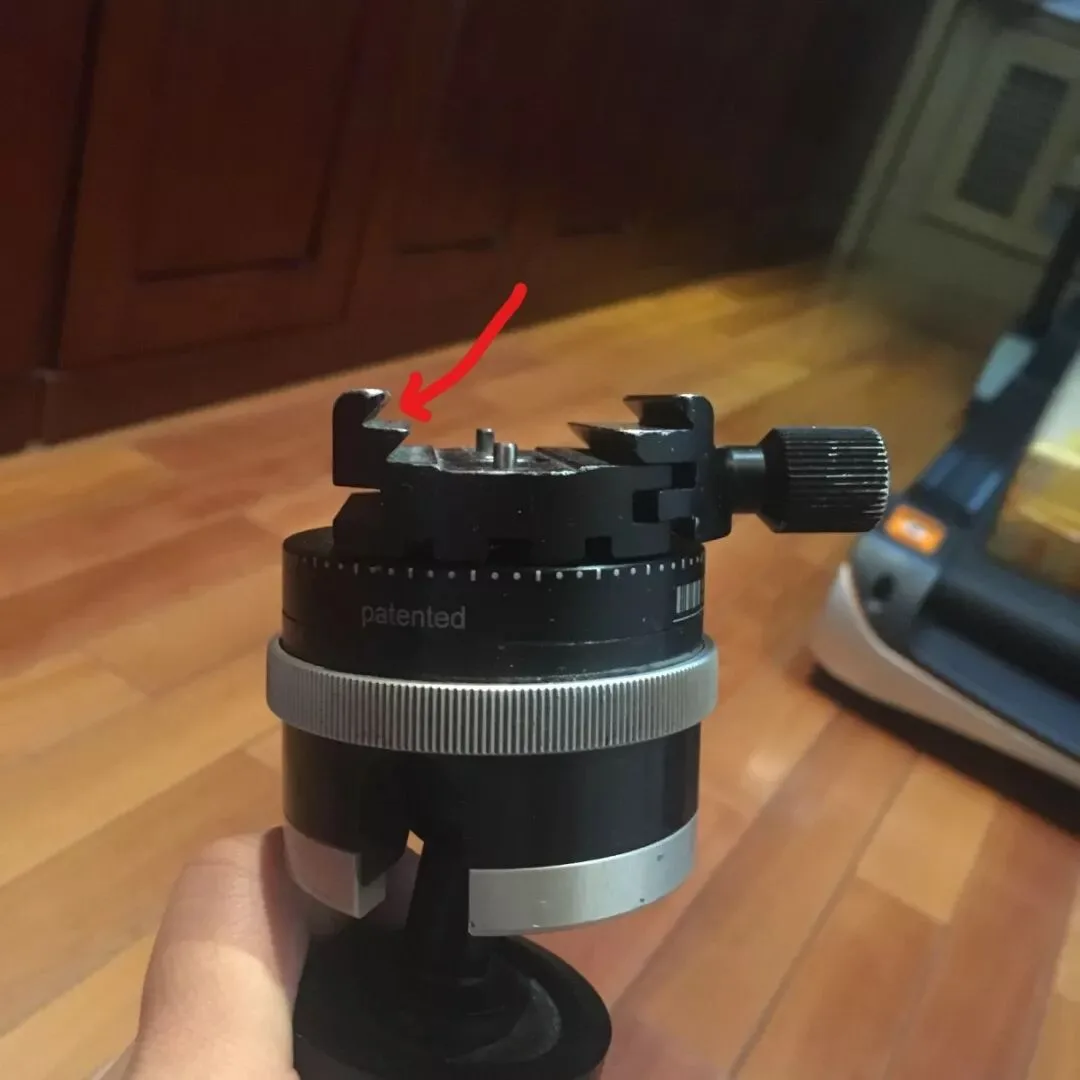
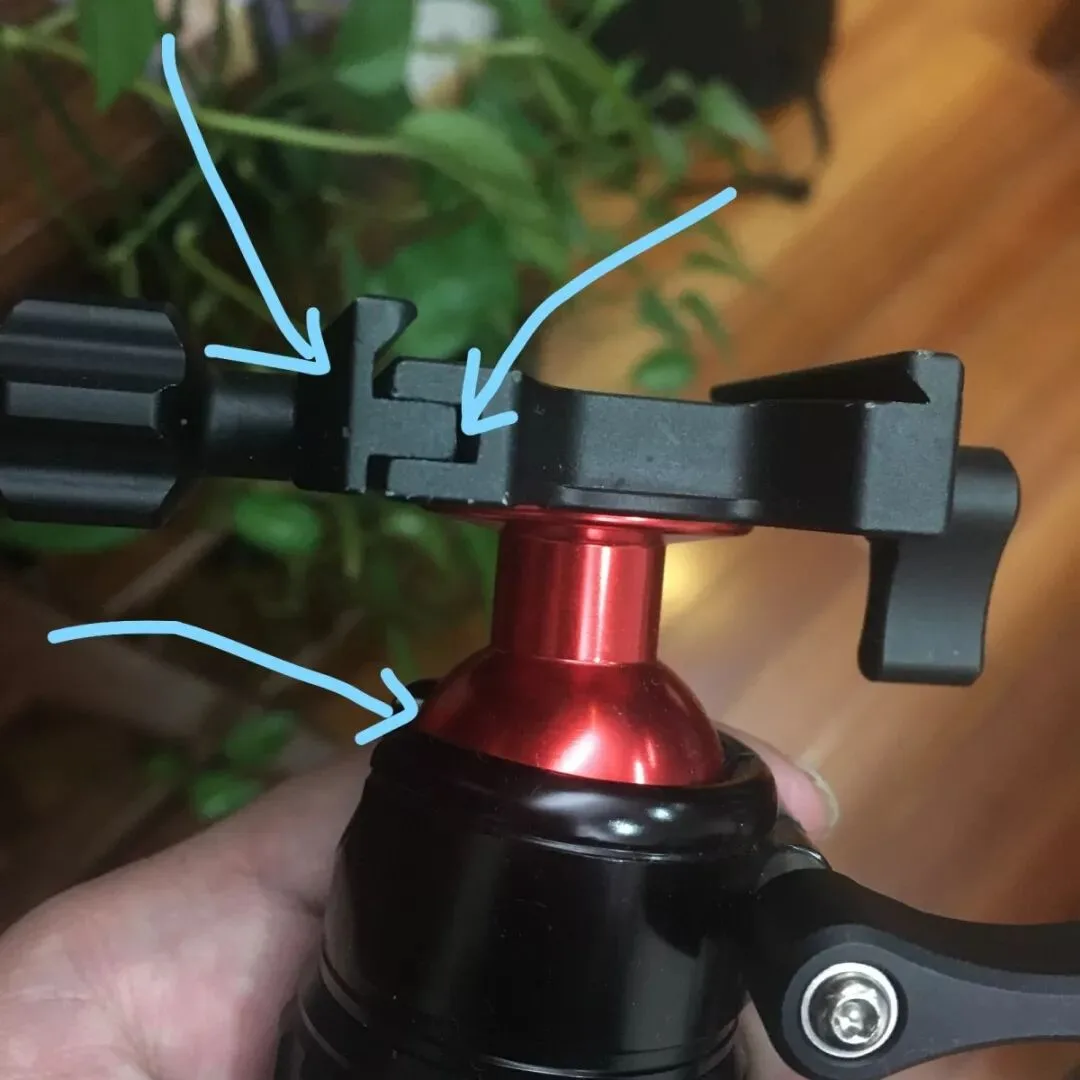
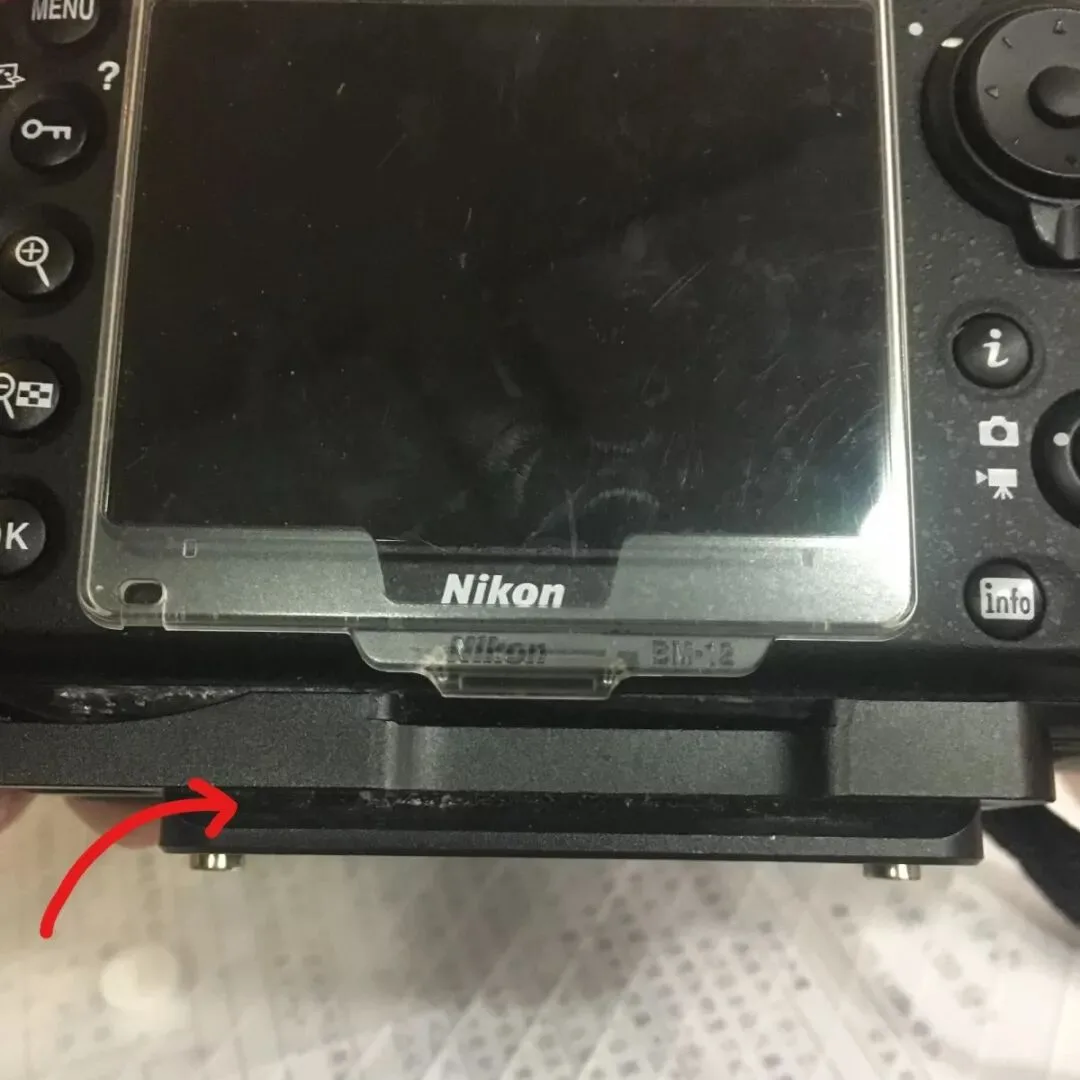
The lesson: after shooting in wet places in the cold, wipe the tripod dry promptly — at least store it somewhere warm.
If conditions make both impossible, extend all the legs fully and release every lock (or knob). Then even if ice forms, cleanup is easier and trouble minimal. In the image above I've marked spots that freeze easily or trap snow in crevices, crippling tripod or head — the camera can even slide right off the head, because snow in the gaps acts like a lubricant and nothing locks tight. Everyone, pay extra attention outdoors.
8. Snow & Ice Accessories
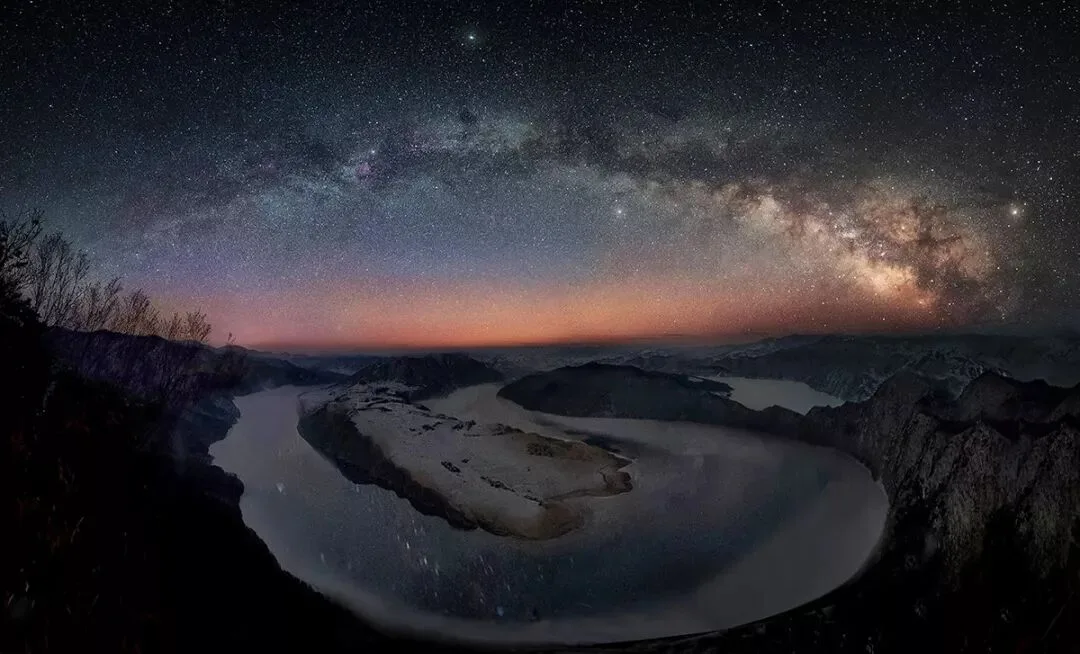
'Tai Chi of Heaven and Earth'
Heaven is Qian, Earth is Kun, water is Tai Chi — the Tai Chi of heaven and earth!
In March 2017, just after a snowfall, I wanted to shoot this Tai Chi Bay scene from a summit (so far I've never seen anyone shoot the Milky Way arch over Tai Chi Bay). For the best quality I planned to use a star tracker, and brought the RRS TV33 + BH55 PRO ball head plus my usual Gitzo 1542 Mountaineer. Bodies: a Sony A7S astro-modified with Sigma 20mm f/1.4, and a Nikon D810 with 14-24.
I started climbing at 11 p.m. Deep snow stranded my car halfway, leaving 3 km to the trailhead — normally a 40-minute walk up. But the snow on the mountain exceeded all expectation: half a meter deep, up to my knees. Trekking uphill in snow like that is exhausting, one foot deep, one foot shallow — and my lithium flashlight quickly died in the cold. I climbed on in darkness, alone.
The Milky Way would rise at 3 a.m. and I was racing time. Halfway up, loaded with gear, I was gasping and spent. Time to abandon the non-essentials: I tossed the big tripod and the star tracker into a snowdrift to collect on the way down (no one would find them in the midnight wilderness anyway). After nearly three hours of climbing, I reached the summit on time — just before the Milky Way rose!
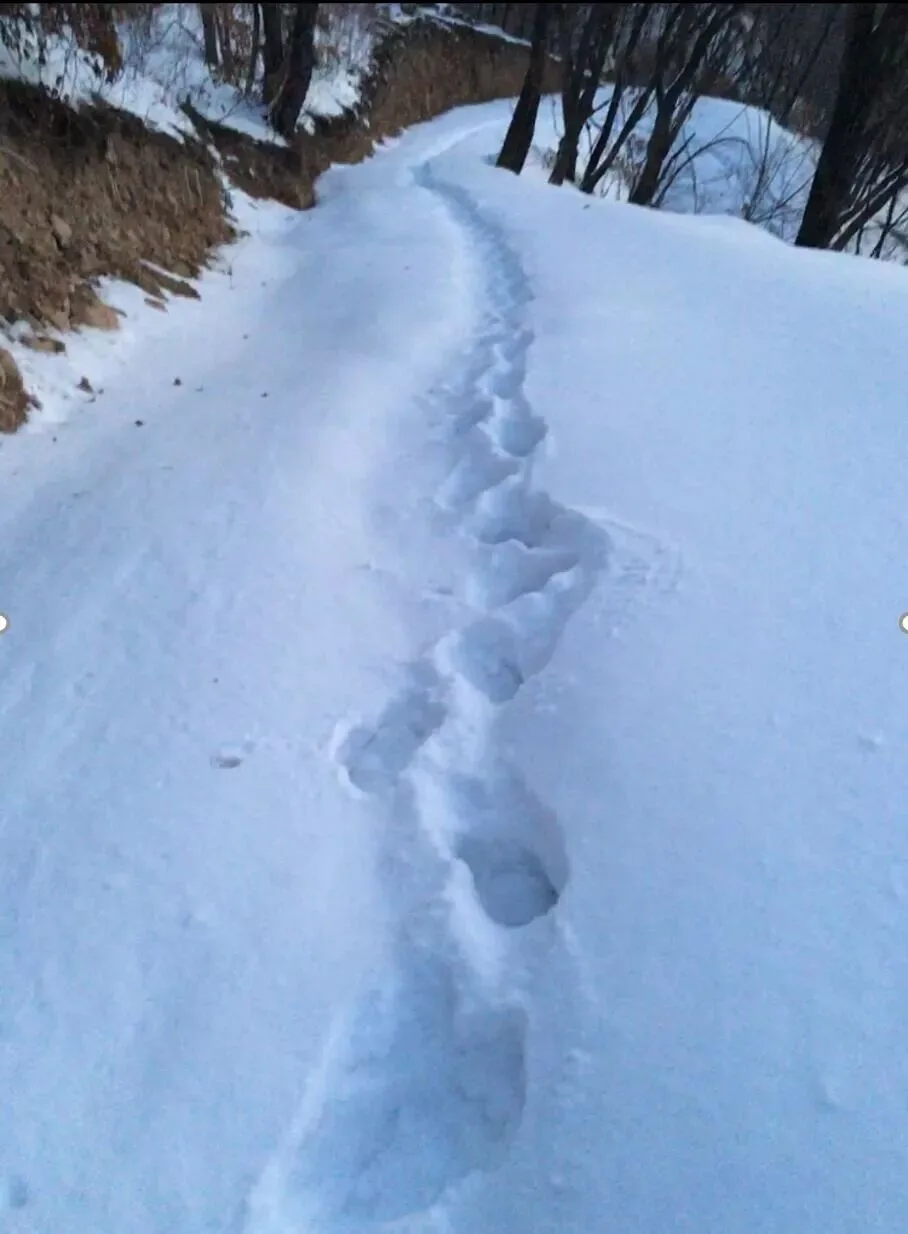
Shot at dawn on the way down: the path I'd trampled climbing up at midnight
Truth be told, the trip was so brutal mainly because I forgot one snow-country miracle tool!
Snowshoes
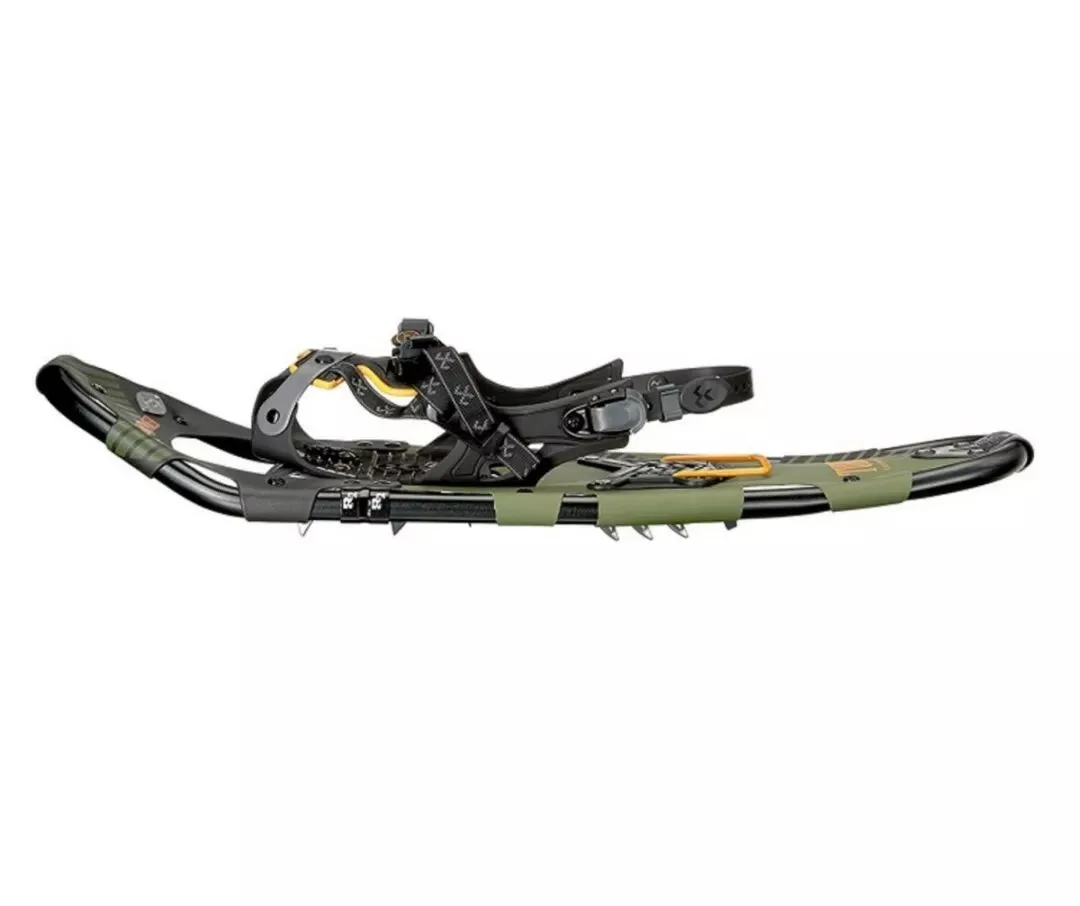
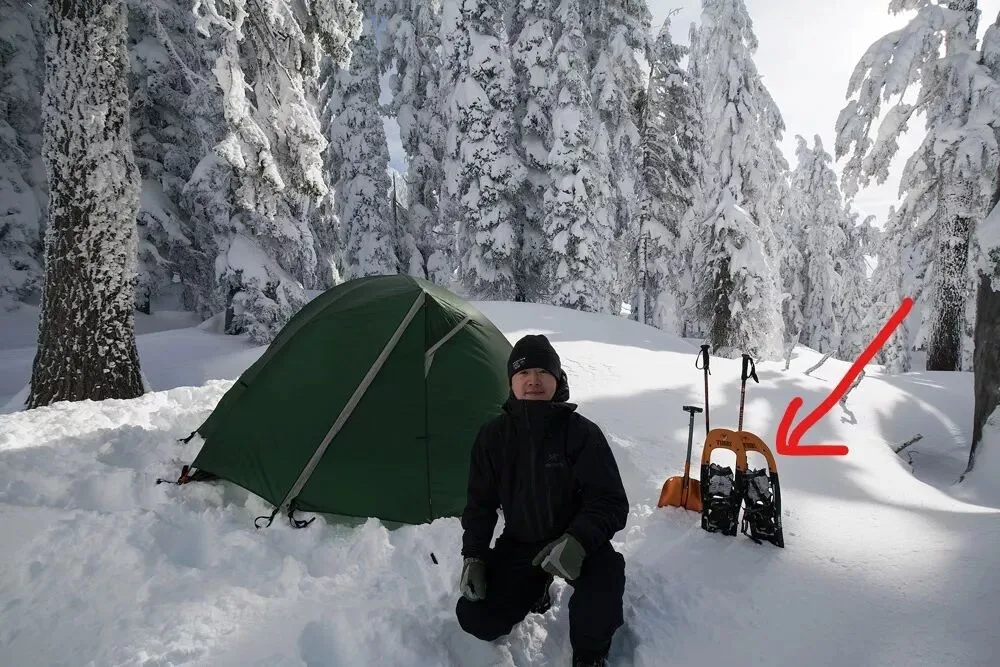
Snowshoes look like wide, short skis. Walking on deep snow, they spread your weight over a larger area so you don't sink in. In heavy-snow country, many photo spots are reachable only in snowshoes.
For climbing, snowshoes with heel risers ('elevators') save a lot of energy. For most popular photo spots, snowshoes probably aren't essential. Buy them only if you know for sure your destination involves deep-snow walking.
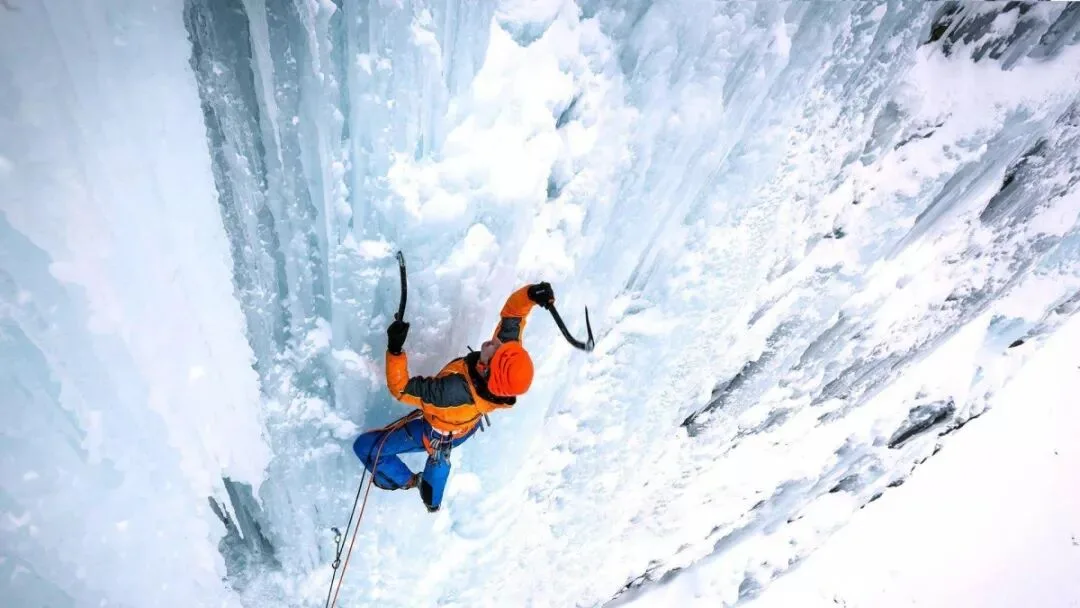
For extreme snow-and-ice shooting, ice axes, ice tools and crampons are also indispensable.
9. How to Expose Correctly
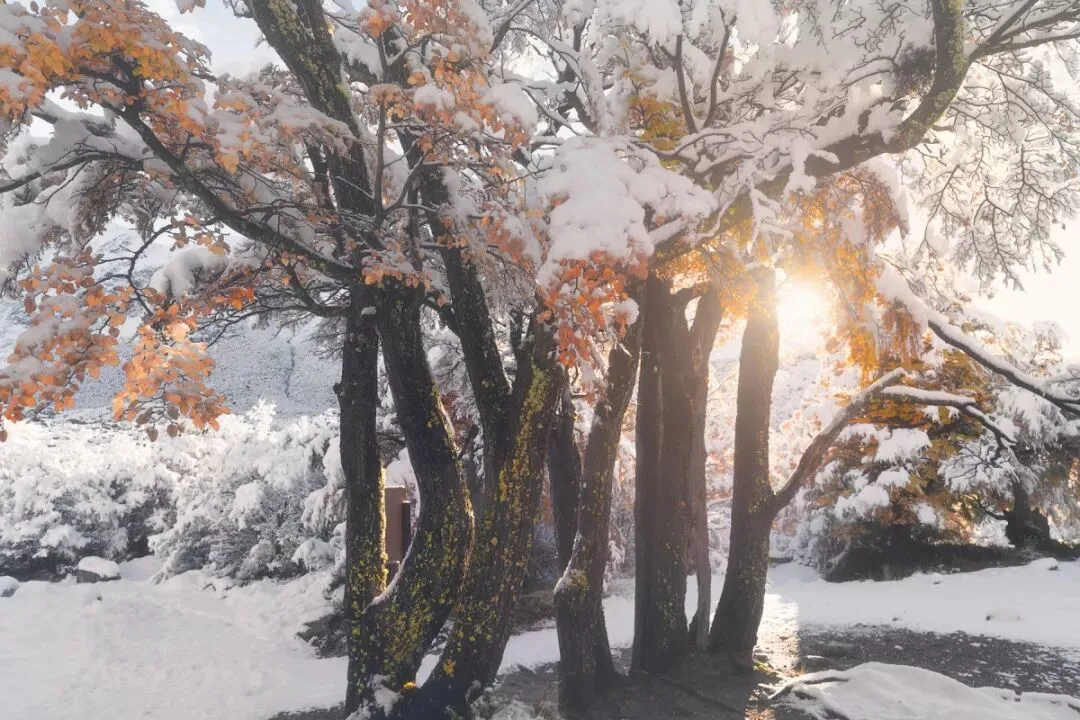
Should snow scenes be exposed a bit over or a bit under? Opinions differ. The reduce-exposure camp argues: ice and snow reflect strongly, fooling the meter into overestimating — so subtract the phantom brightness for accurate exposure. The increase-exposure camp argues: yes, snow reflects strongly, but the contrast with shadow areas is huge; reduce exposure and the shadows lose all texture — so expose a bit more for the shadows' sake. Which is right? (The above are others' views.)
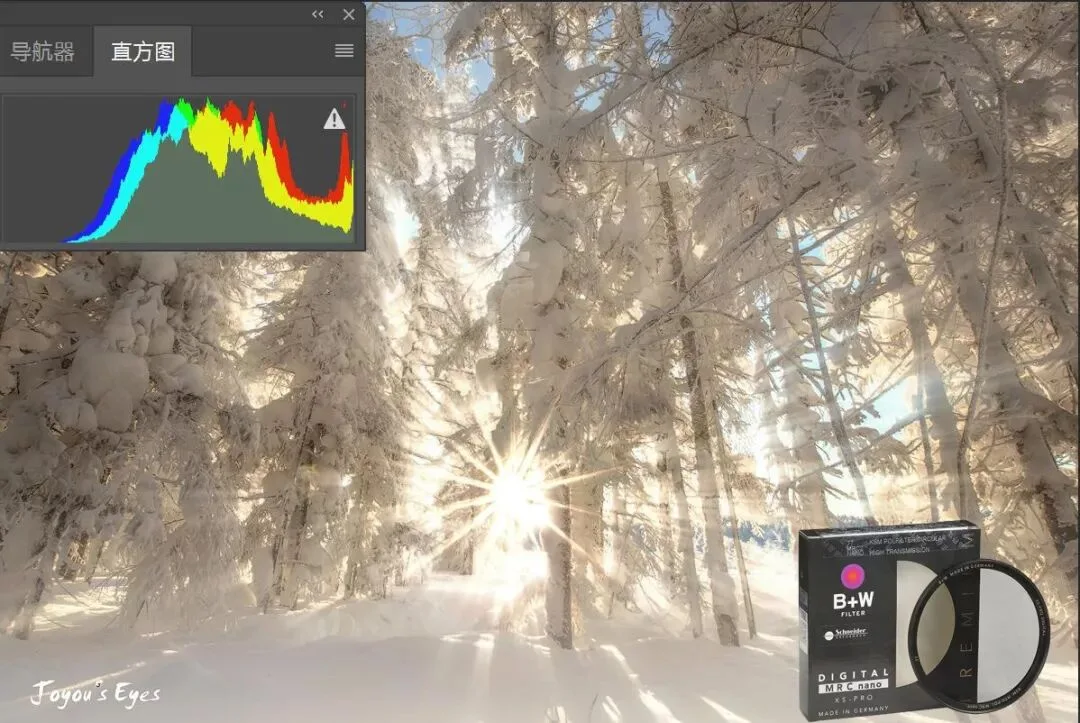
Personally I lean toward slightly more exposure: the shadows come out right, and the snow looks whiter and cleaner.
How much extra? Generally, after the meter settles on a value, adding 1-2 stops works well. But the final arbiter is always the histogram.
You can also use a CPL filter to cut the snow's harsh reflections, reducing contrast for a balanced exposure. For scenes like the one above, snow glare is severe — that's when we reach for the CPL. It's probably the most-used filter in snow photography, above all in the harsh glare after sunrise.
10. Shoot from Multiple Perspectives
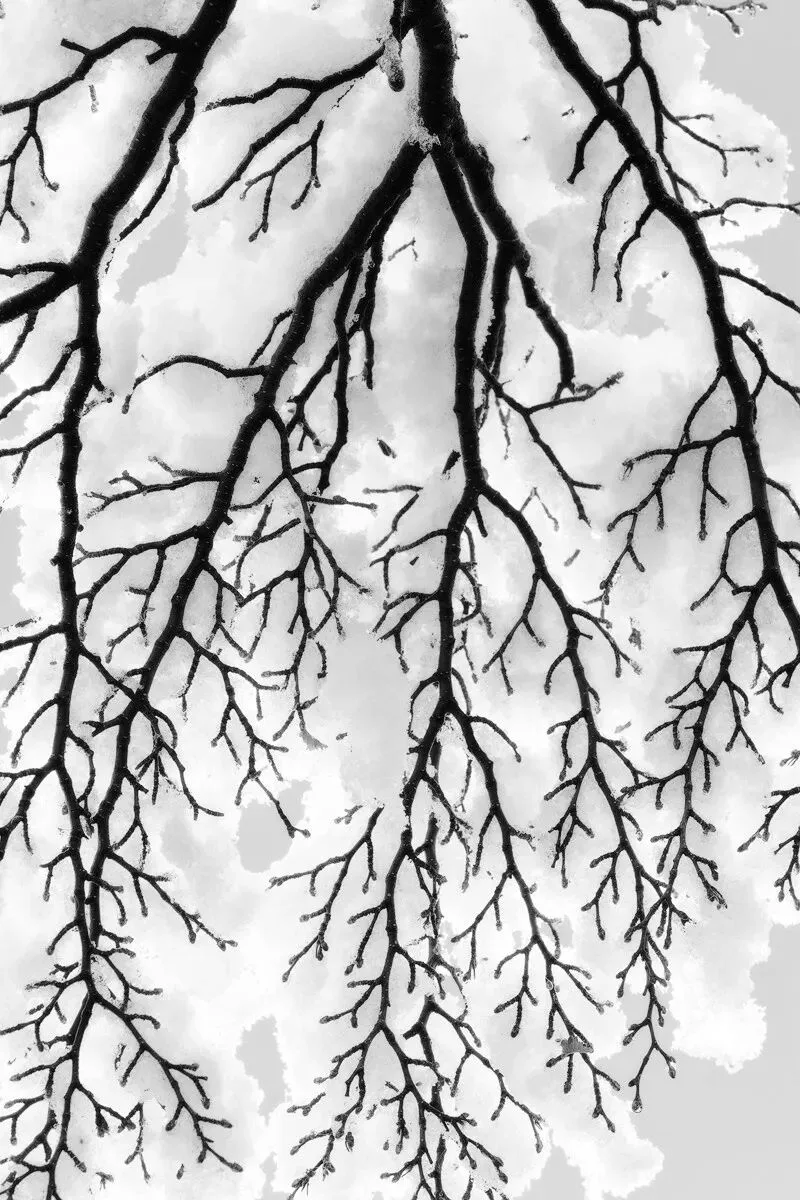
Landscape isn't all ultra-wide. These intimate telephoto scenes make your work distinctive and hard to replicate. The first, 'Linked Snow Veins', was shot on a freshly snowed morning in South America: sleet coated the bare black branches, and looking up from beneath them was fascinating. I switched to the 100-400GM and framed details — black-and-white contrast, branches connecting like rivers, finally merging into one all-embracing flow. That made the photo truly one of a kind.
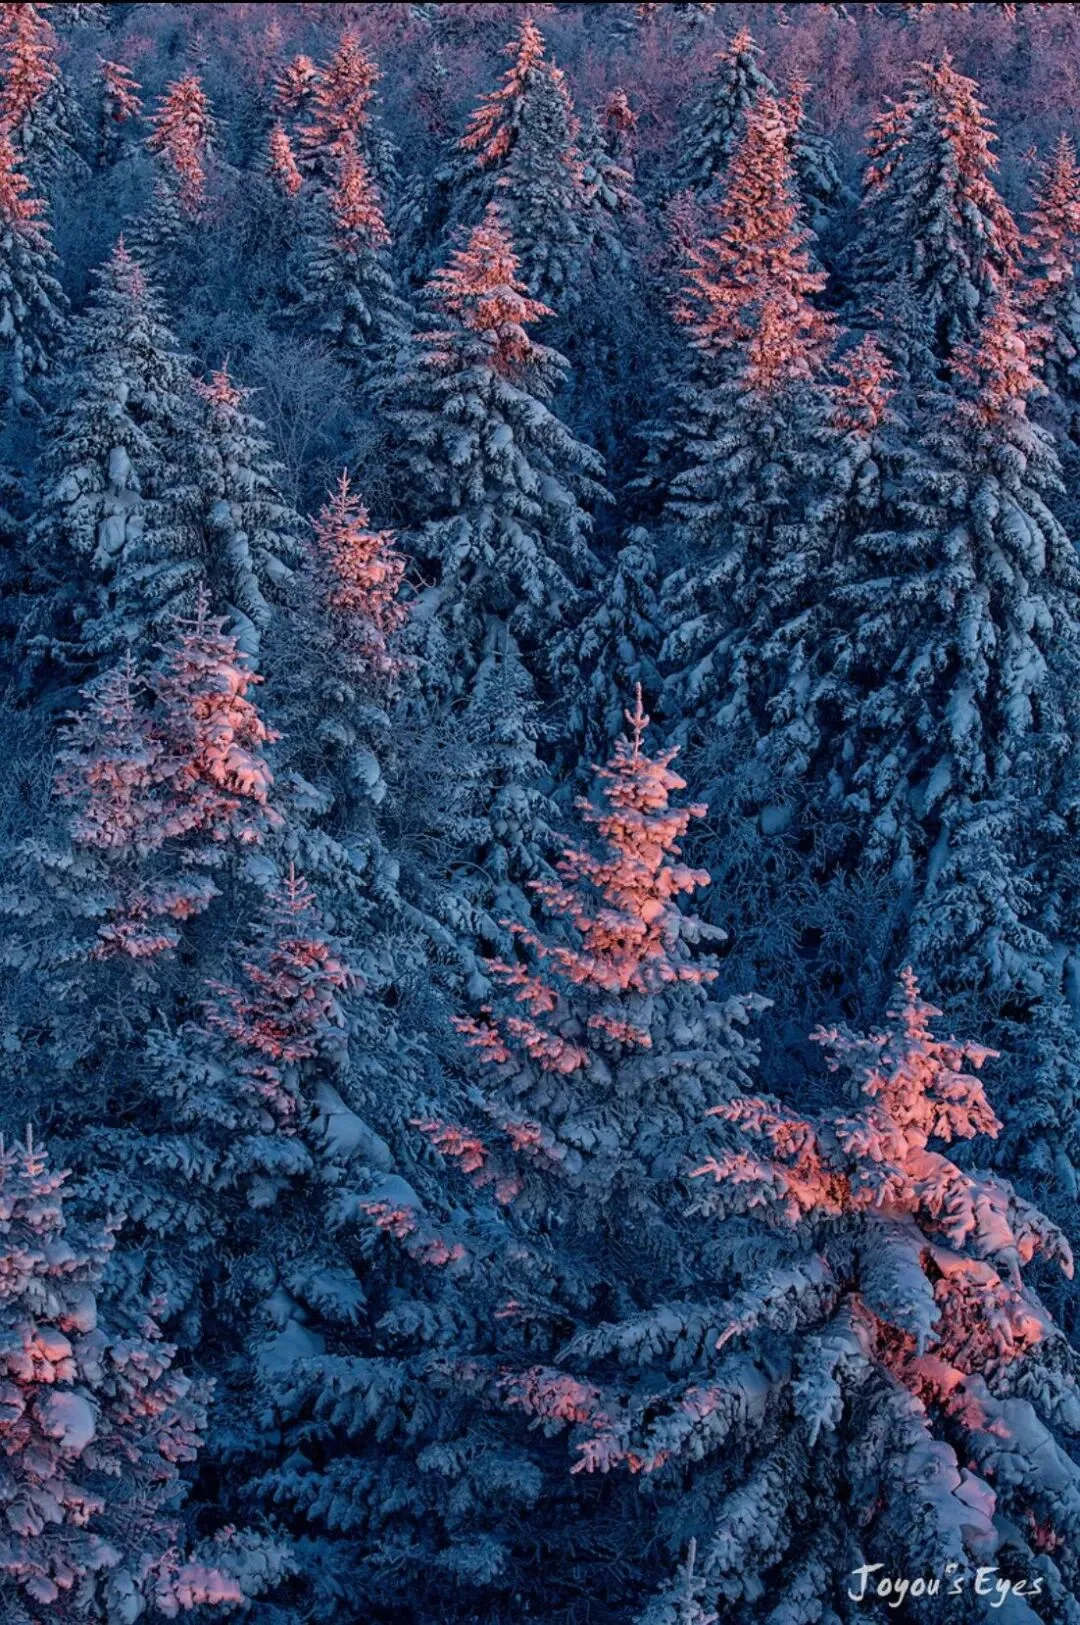
For 'Forest Dyed in Layers' I climbed the fire lookout tower and shot vertically with the 70-200. Telephoto compresses depth, yet looking down over the forest sea, the front trees partially block those behind in ordered ranks — occlusion plus aerial perspective plus vertical framing together make the image more three-dimensional. The frame also holds warm-cool light contrast and advancing-receding hues. Occlusion and aerial perspective can both be achieved on location by moving the camera — think more when composing.
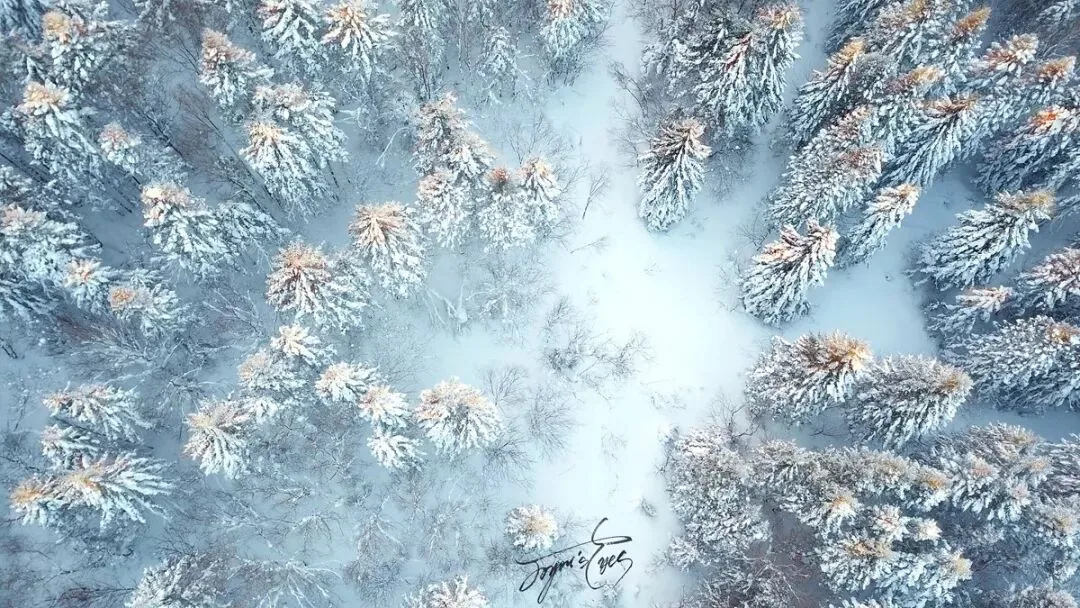
Besides switching to a telephoto, you can use a drone for God's-eye views. But note these issues when flying in extreme cold:
1. Snow too thick, nowhere to take off. (Solution: hand-launch.)
2. Greatly reduced flight time. (Reserve plenty of battery for the return.)
3. The phone can't run the controller for long. (Heat pads + hot-water bottle for the phone.)
Conclusion
This nearly six-thousand-word article distills my years of ice-and-snow photography — nothing copied from websites; every word is personal experience, lessons and insights earned shoot by shoot. I hope it helps you all.